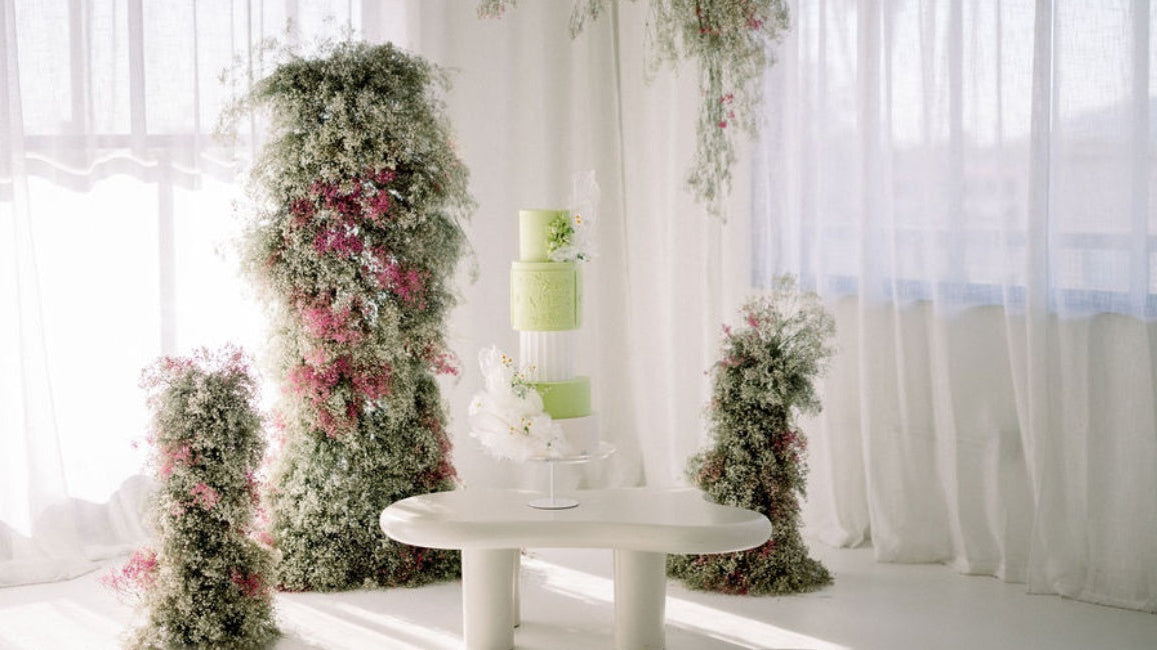
PropTV: How to Create a Floating Tier Cake
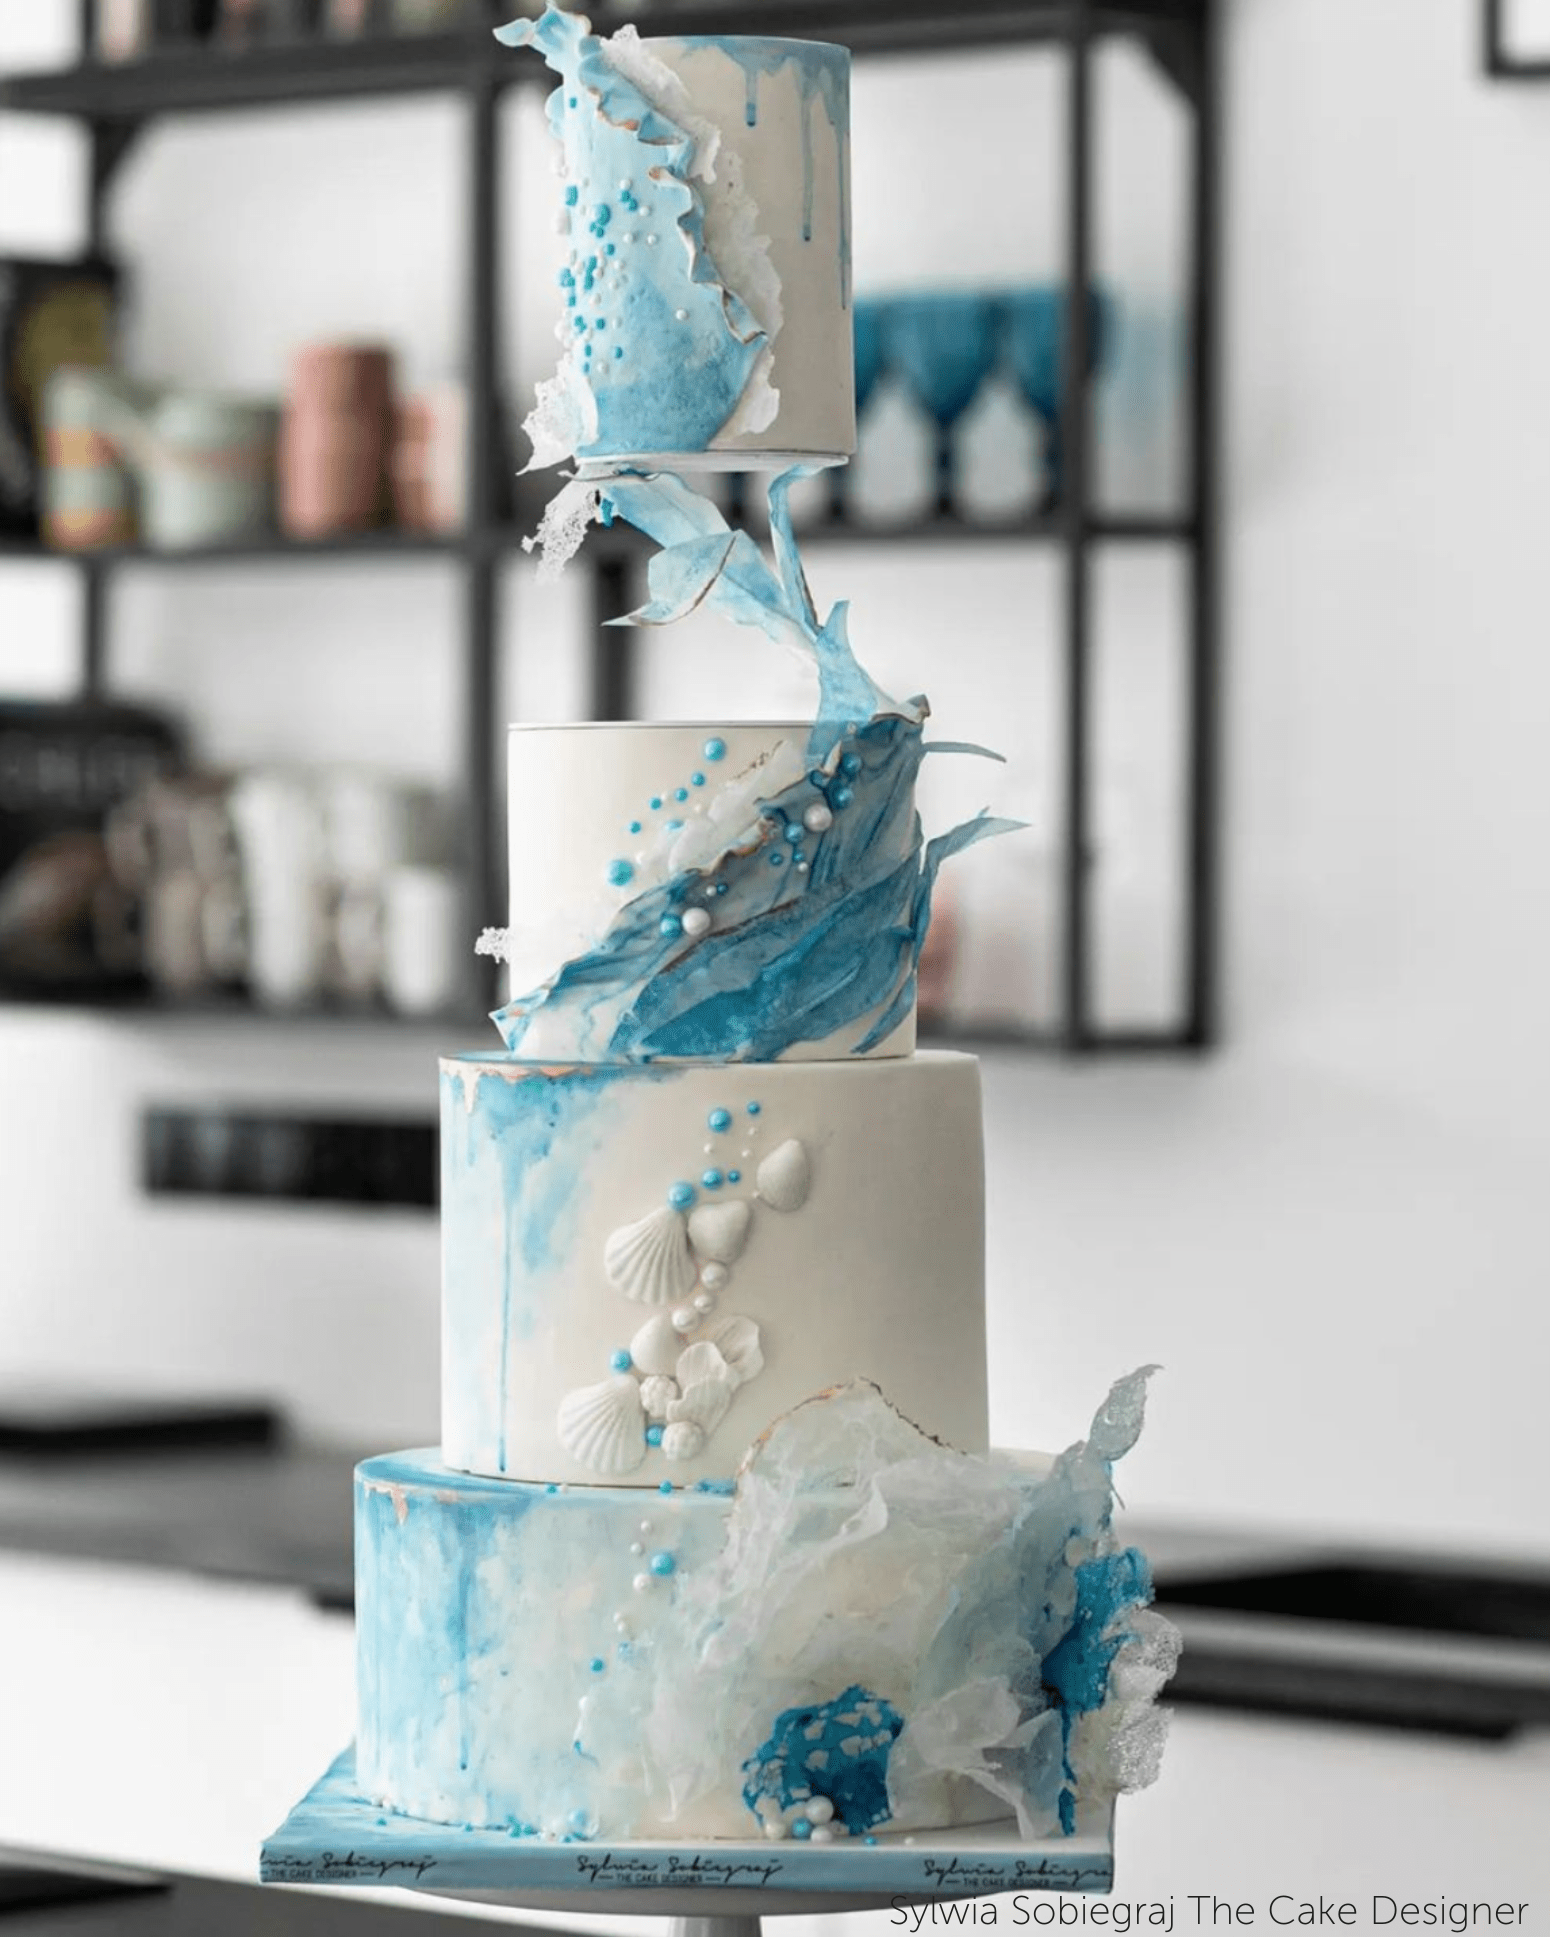
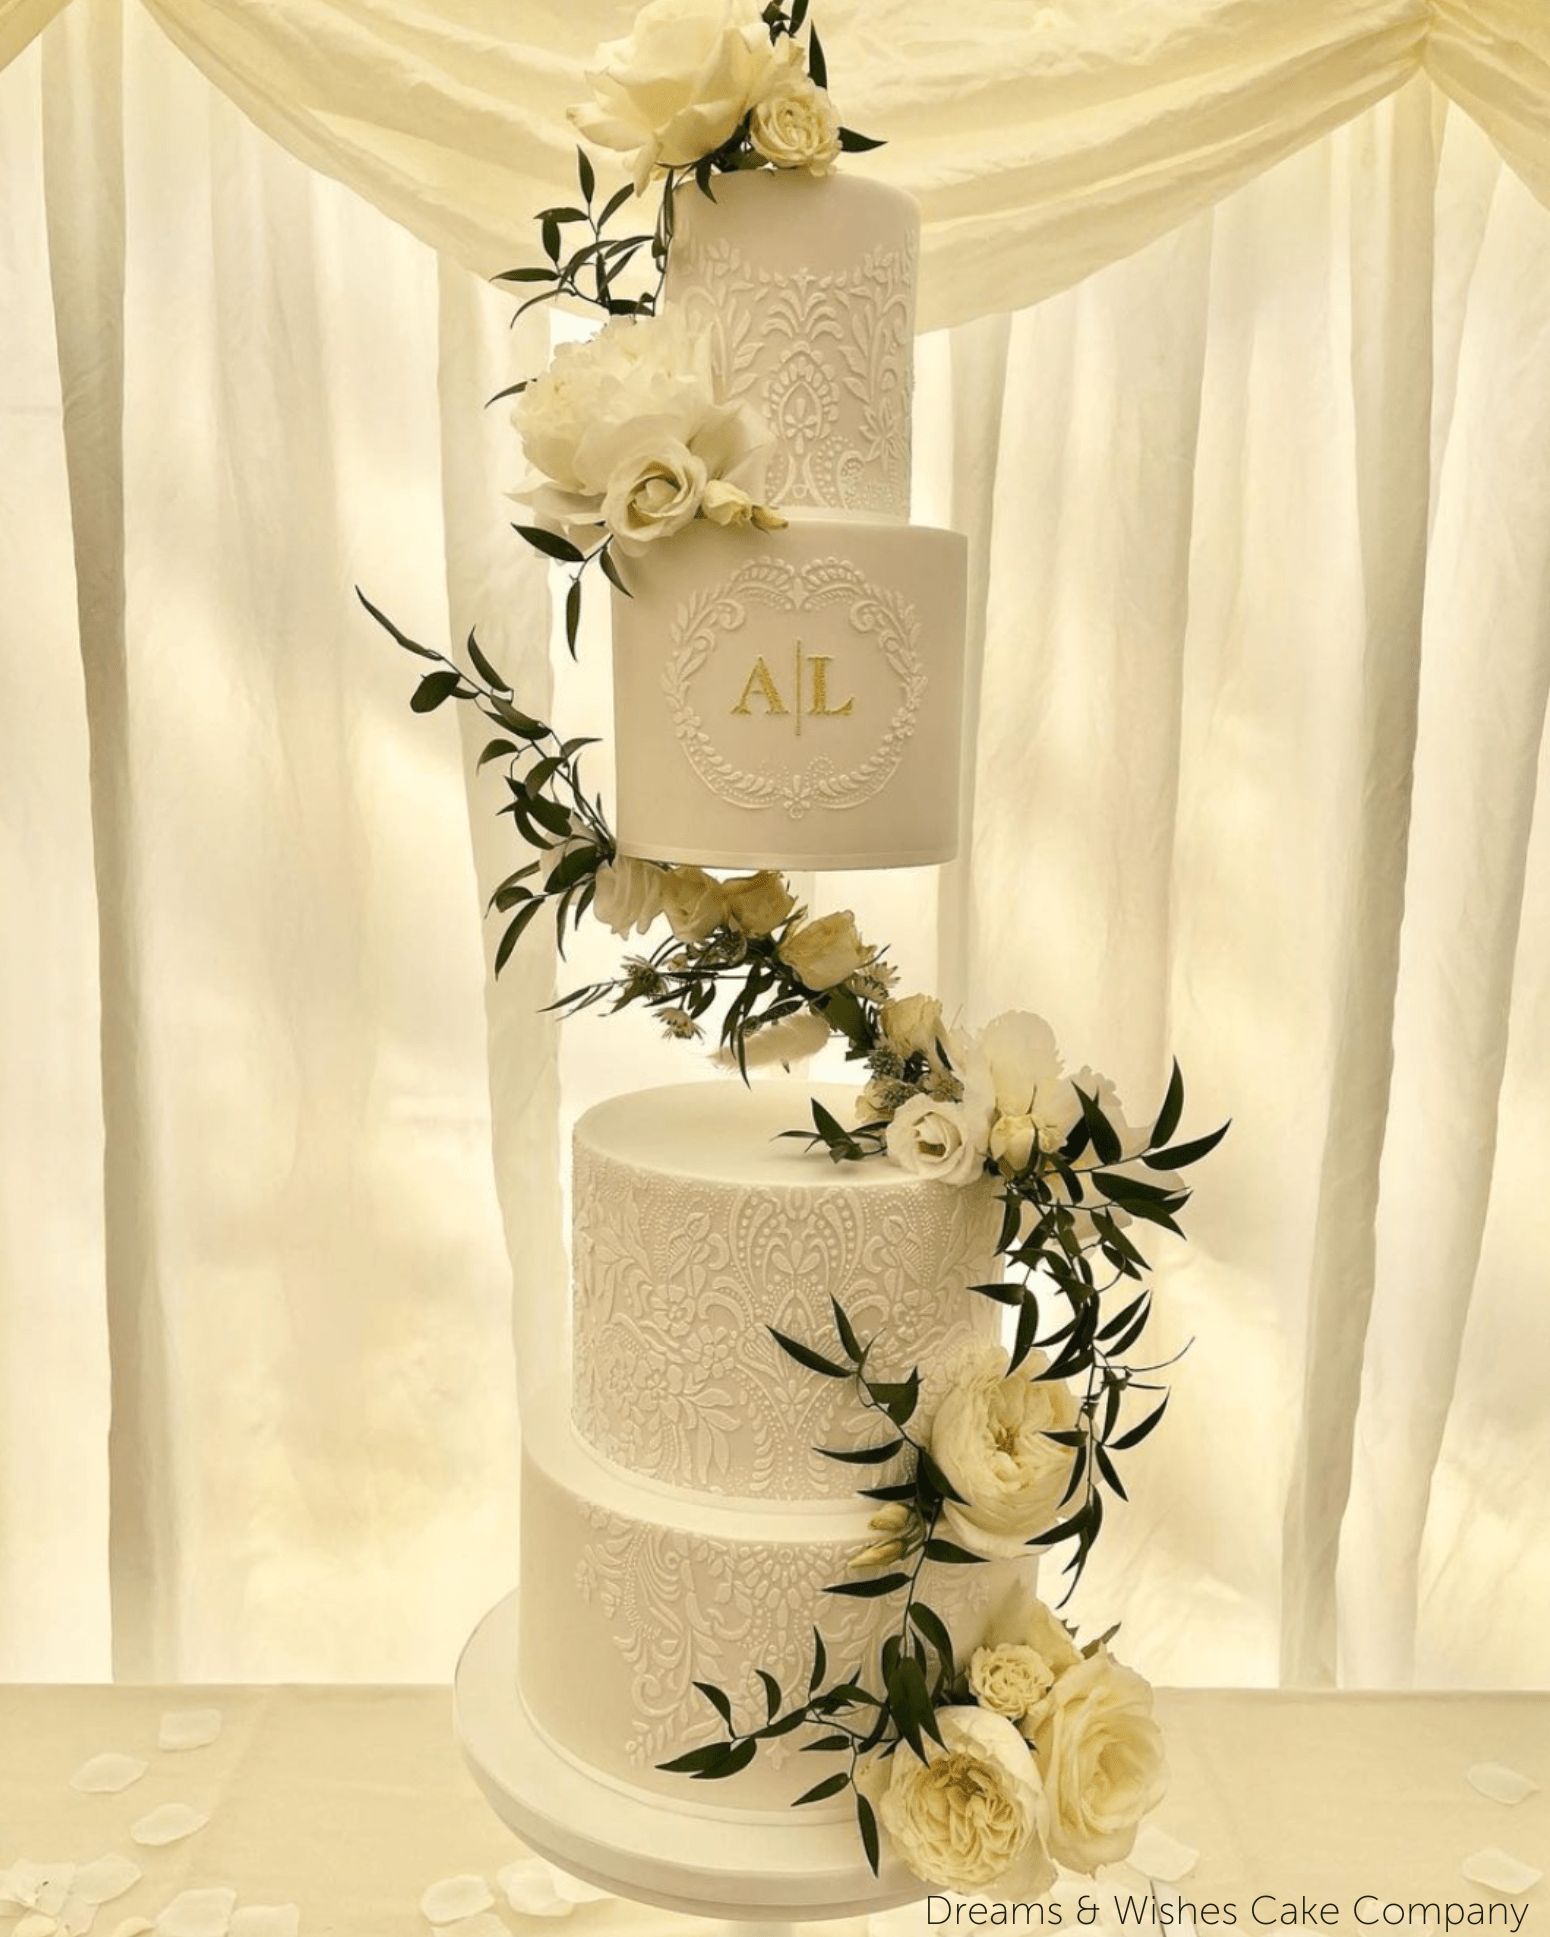
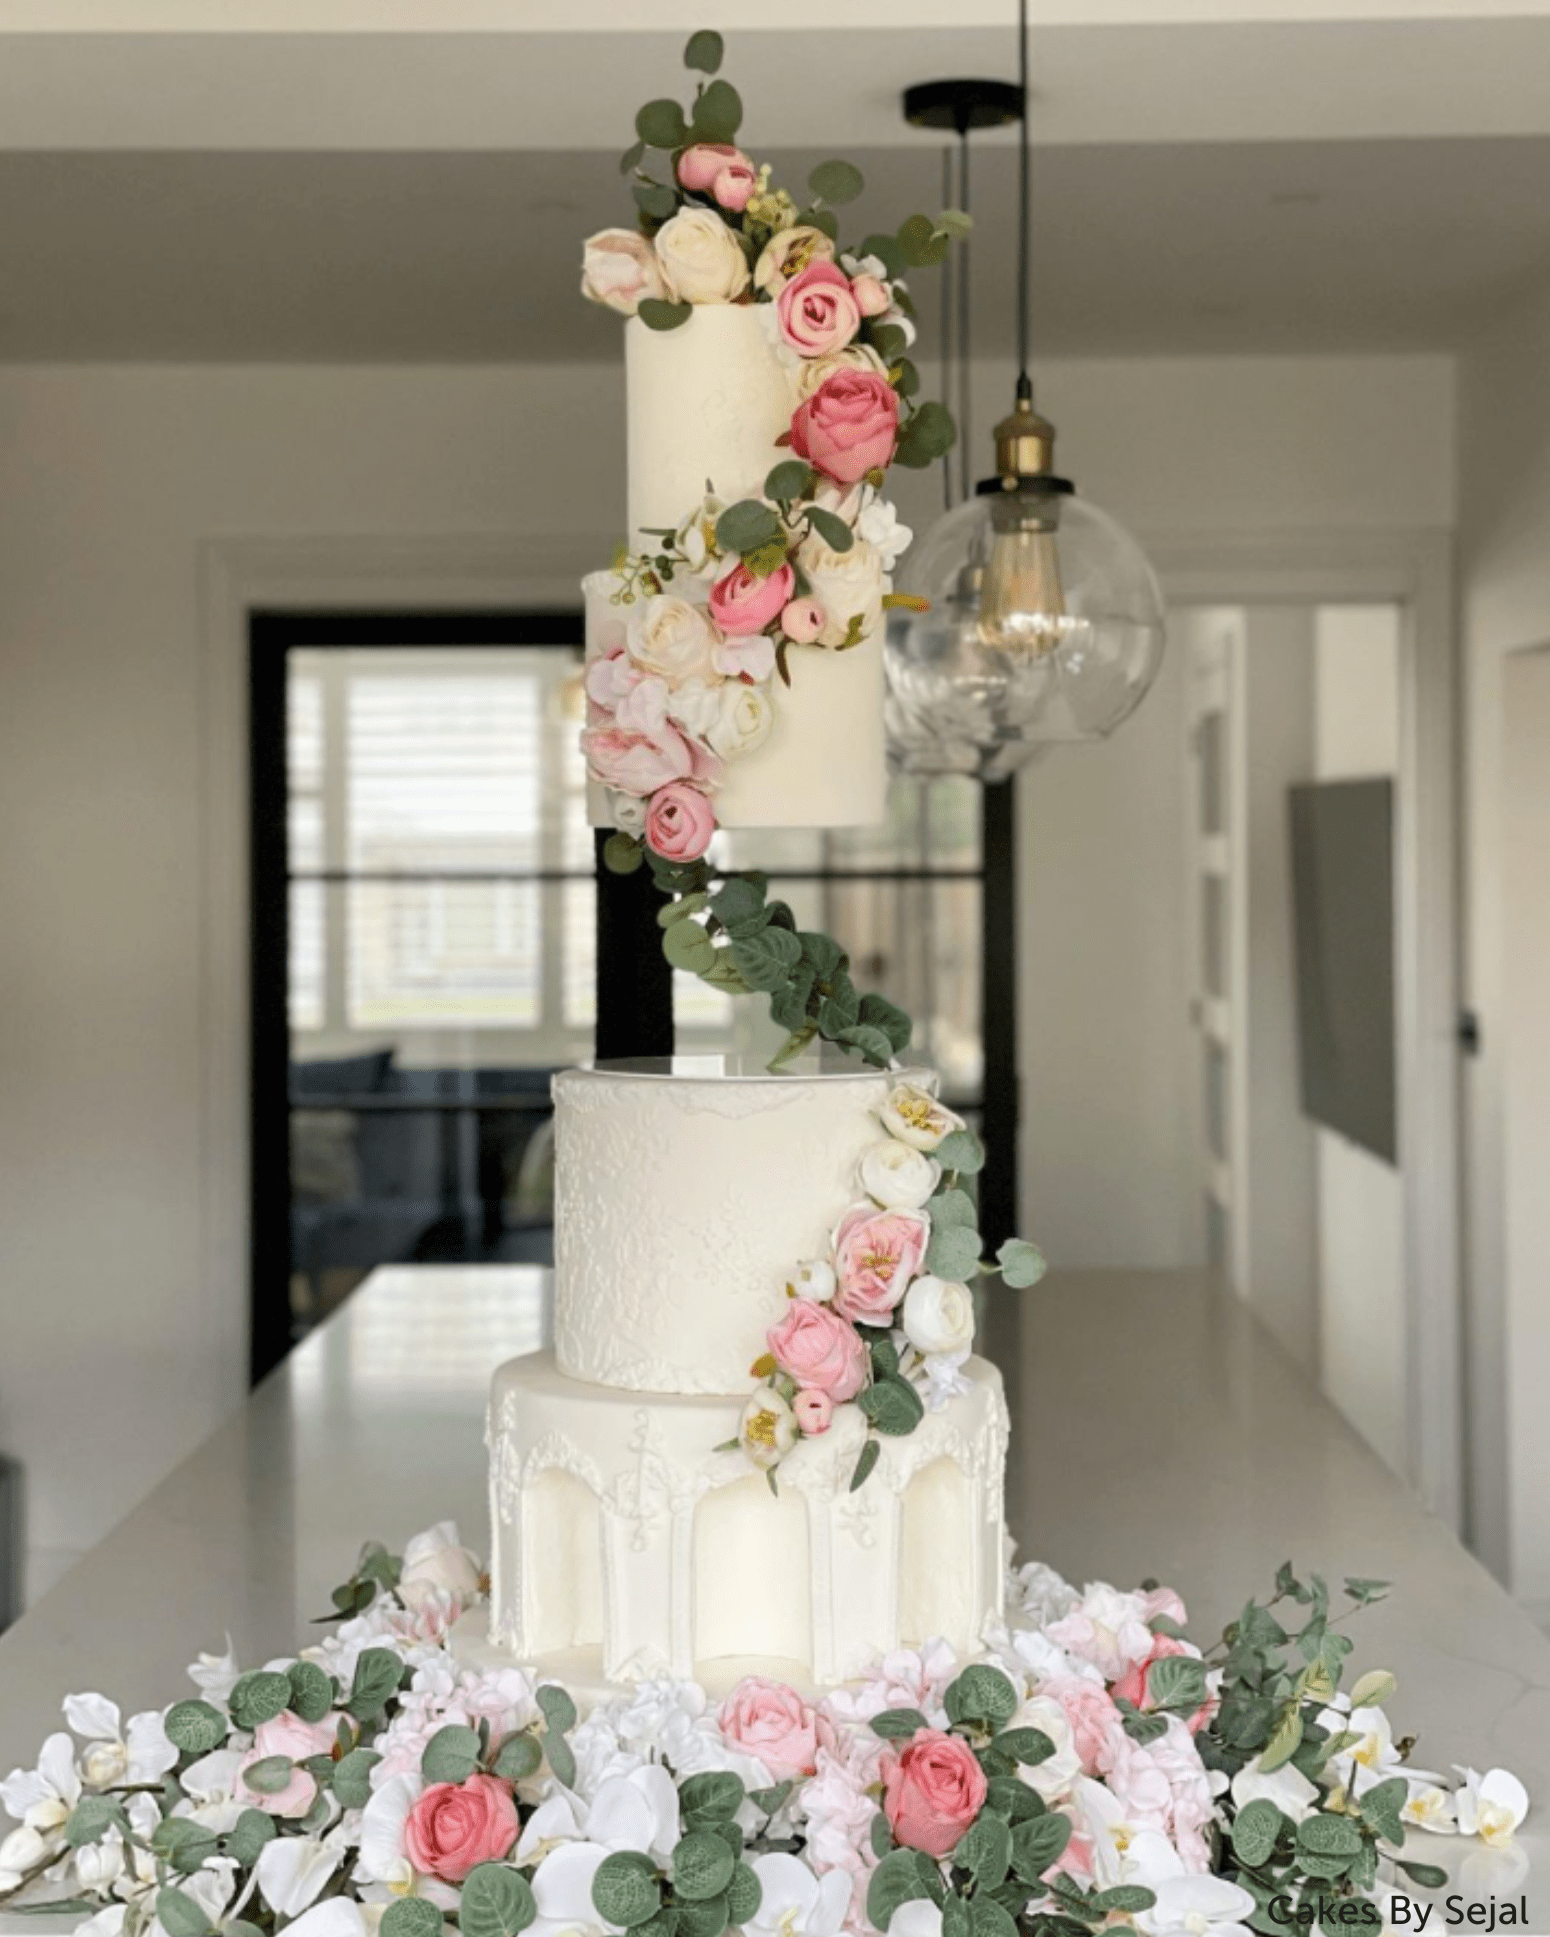
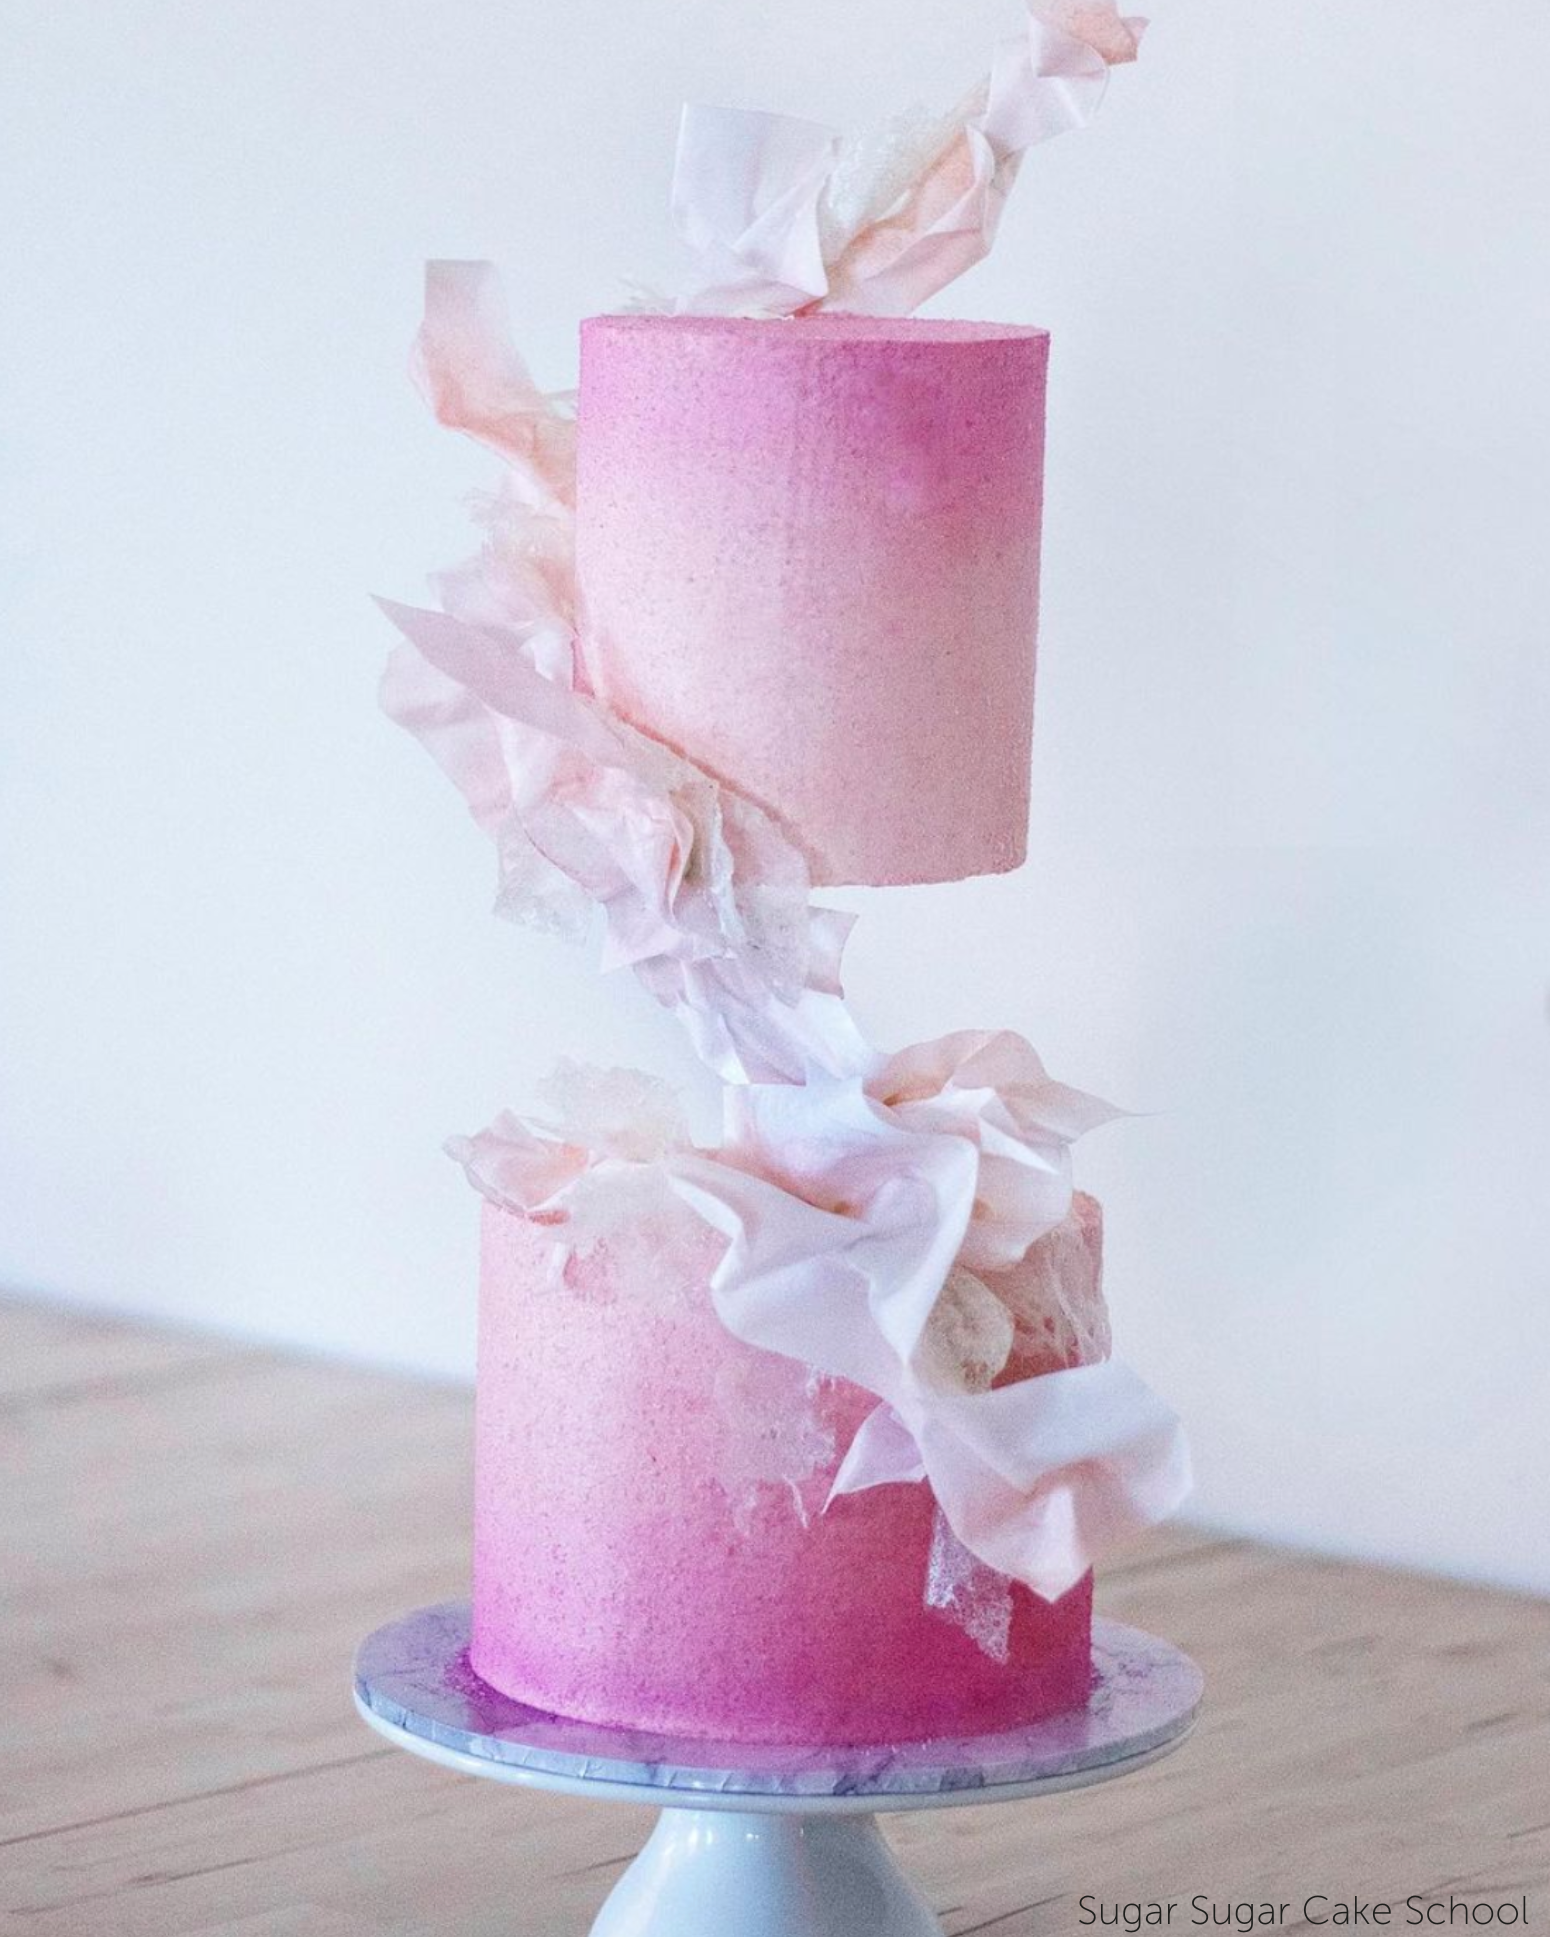
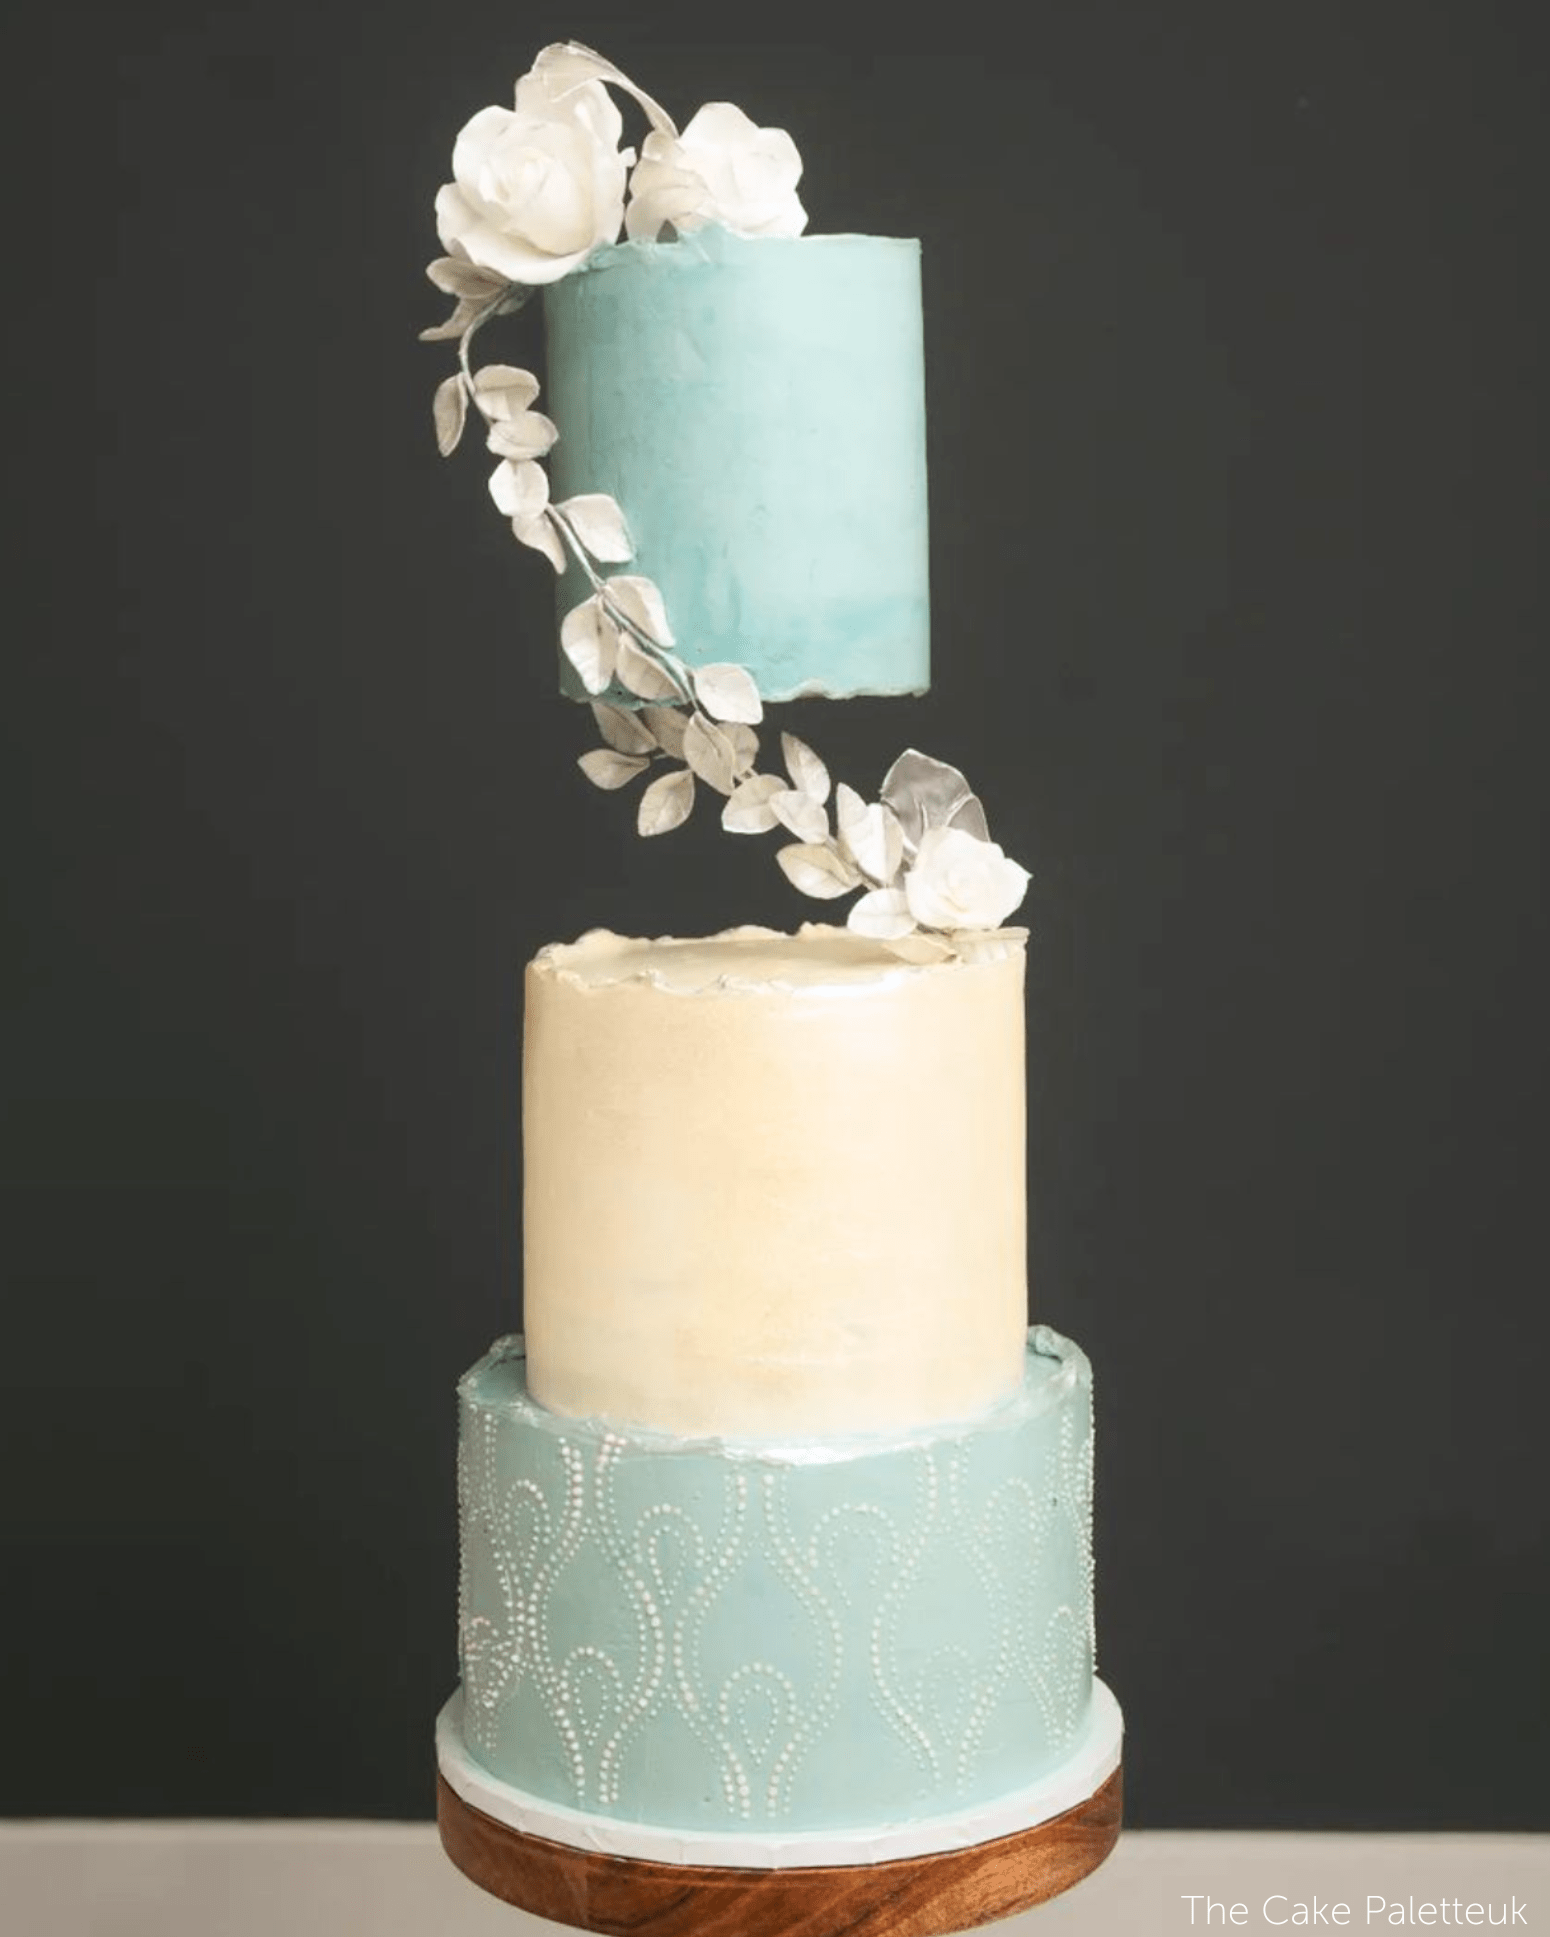
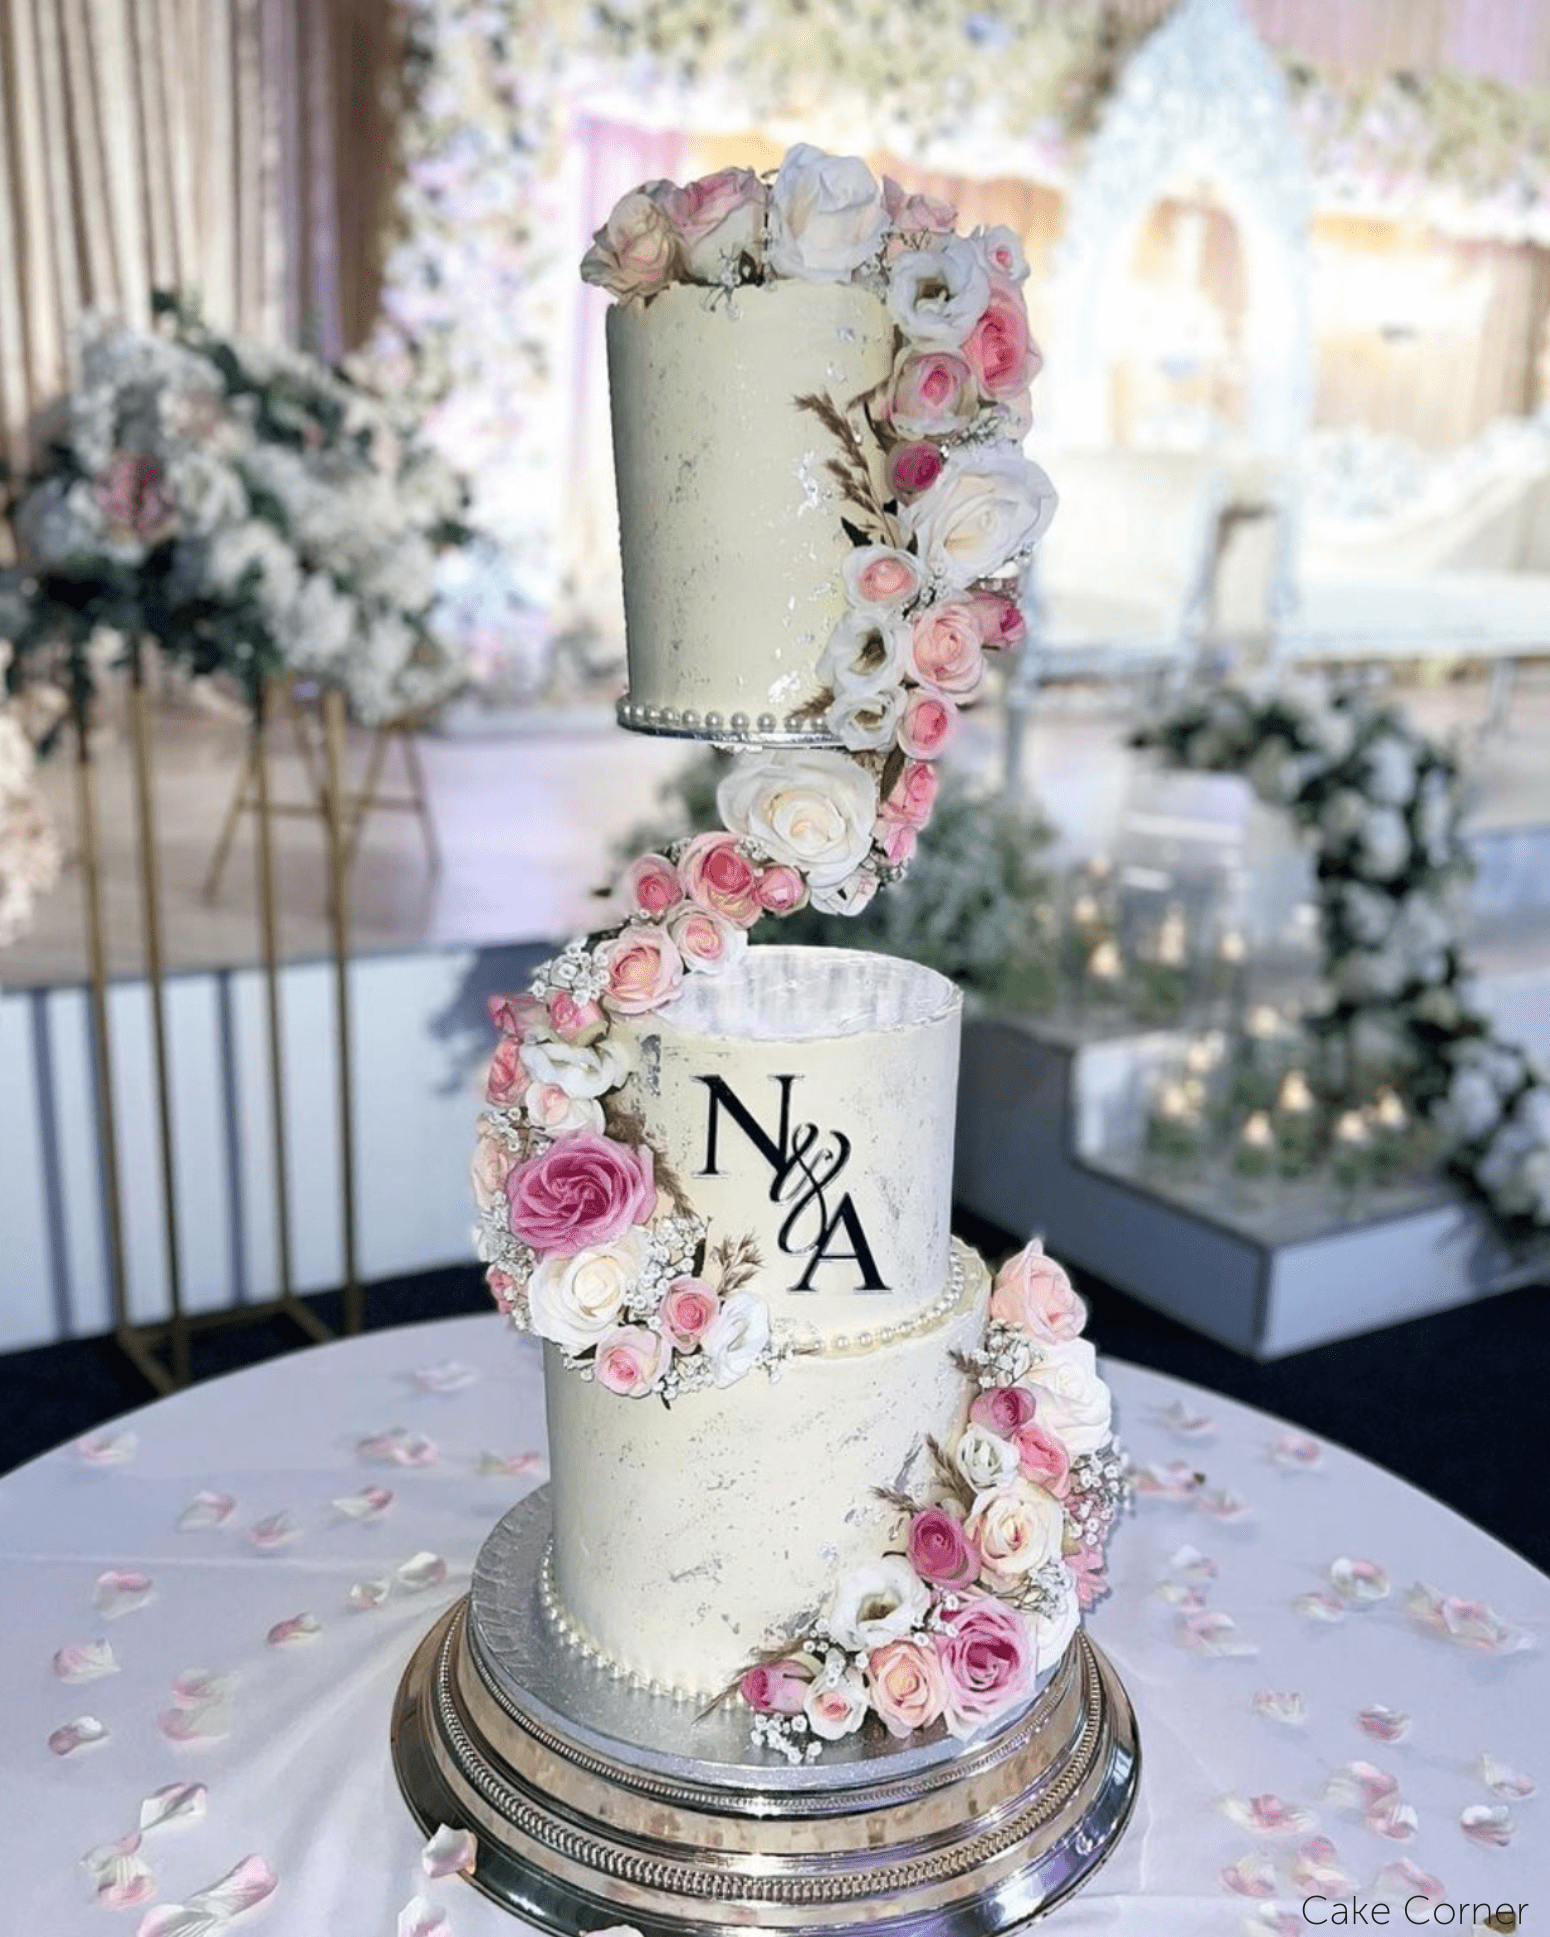
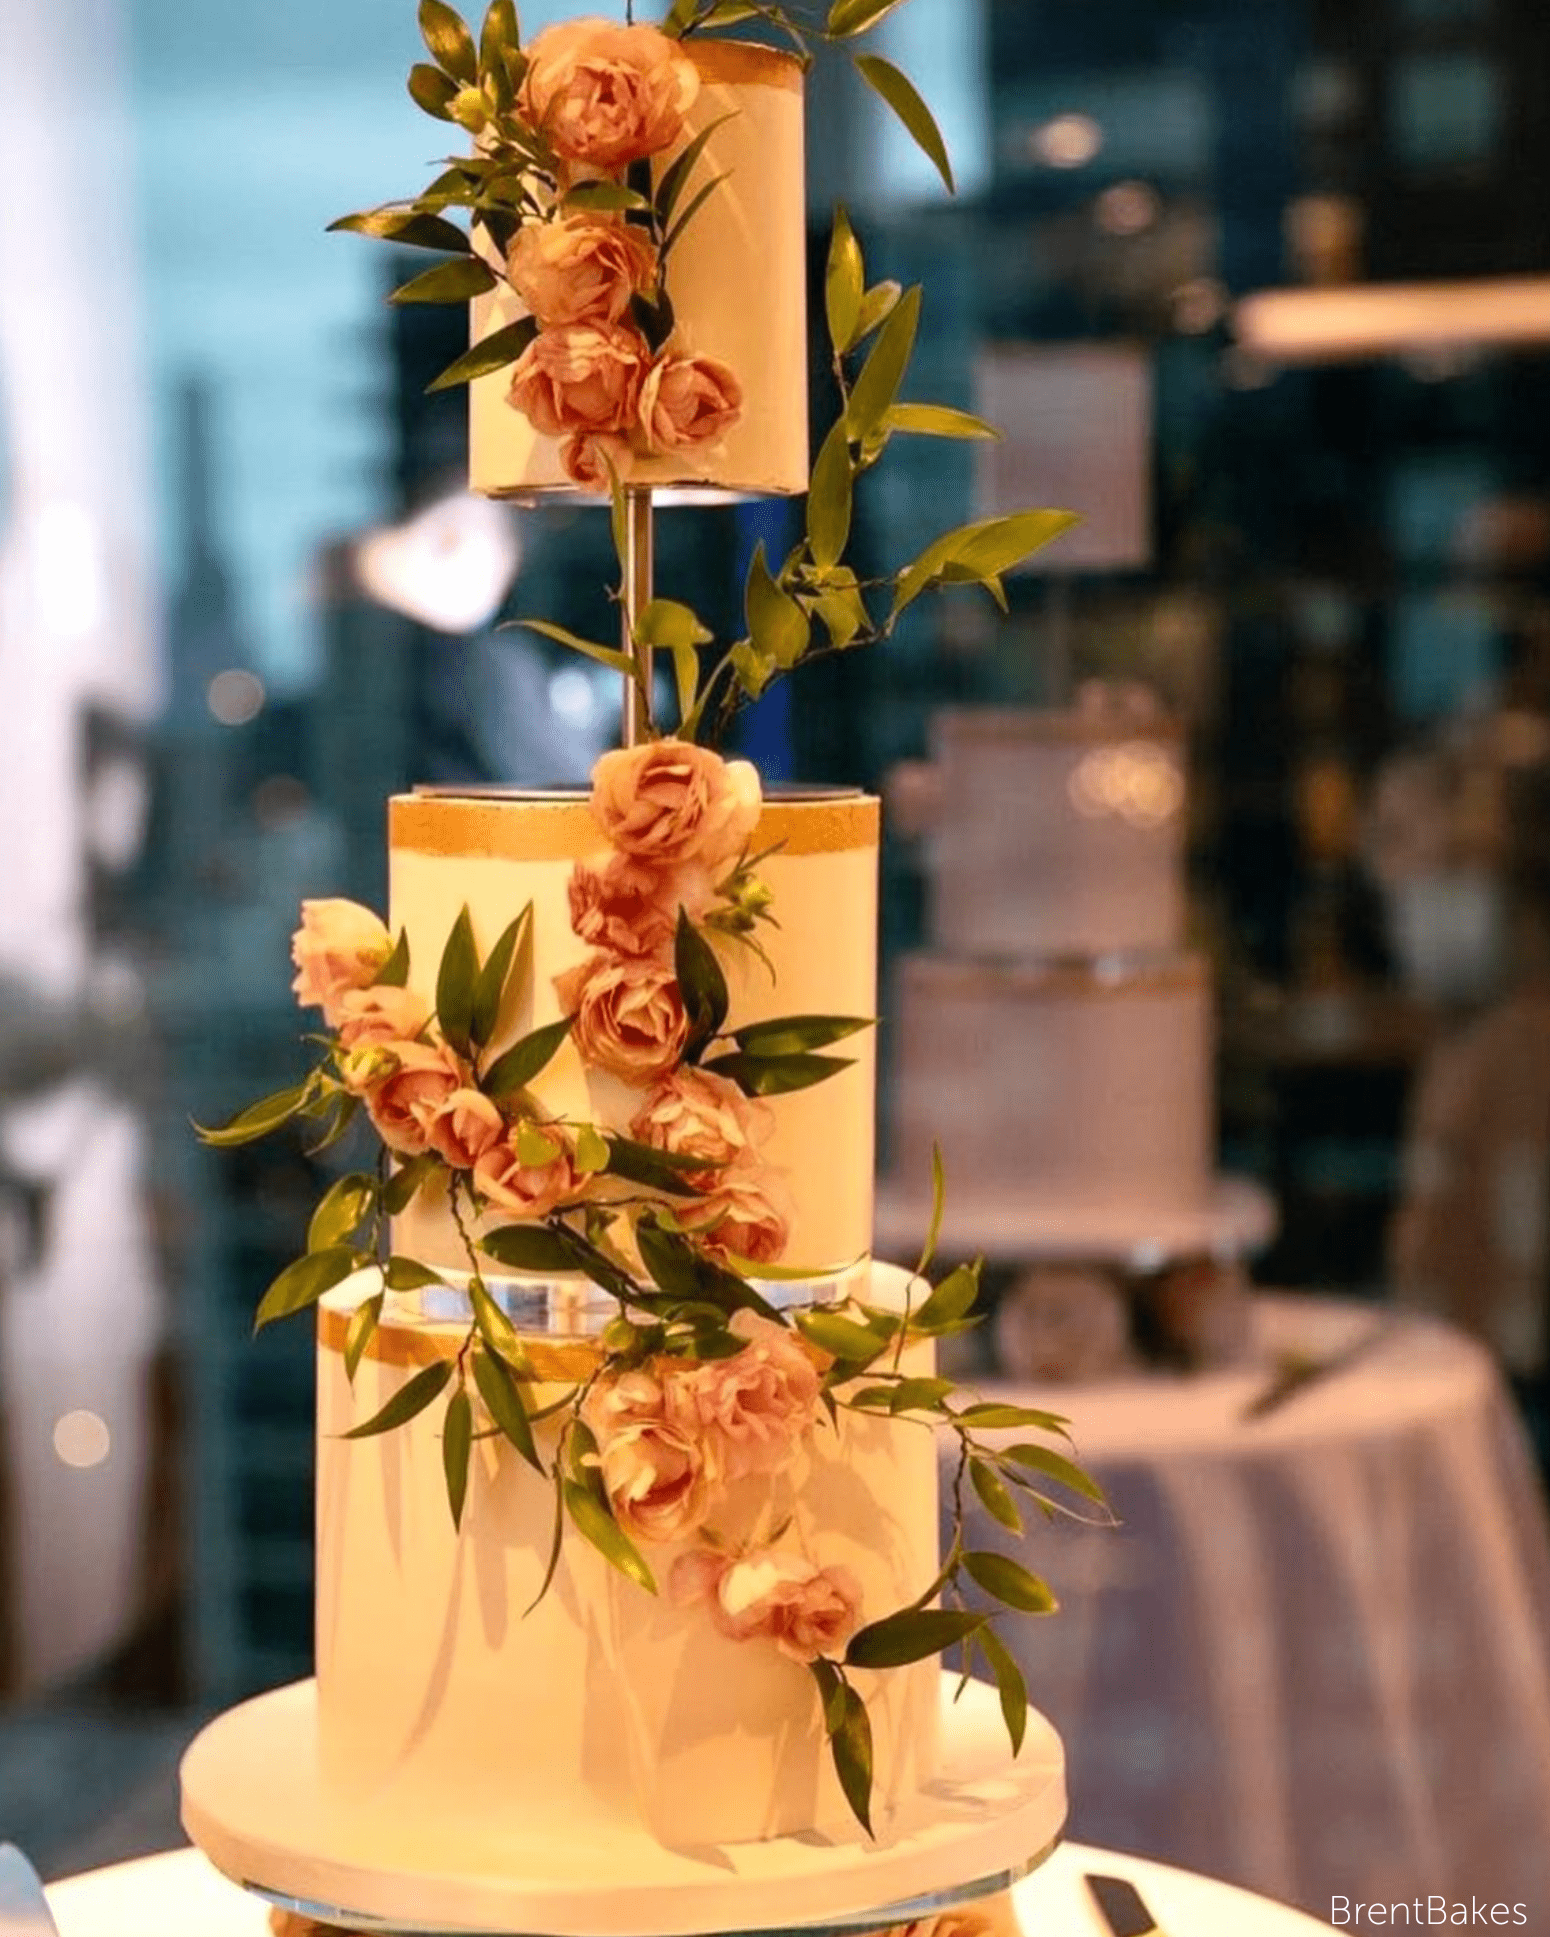
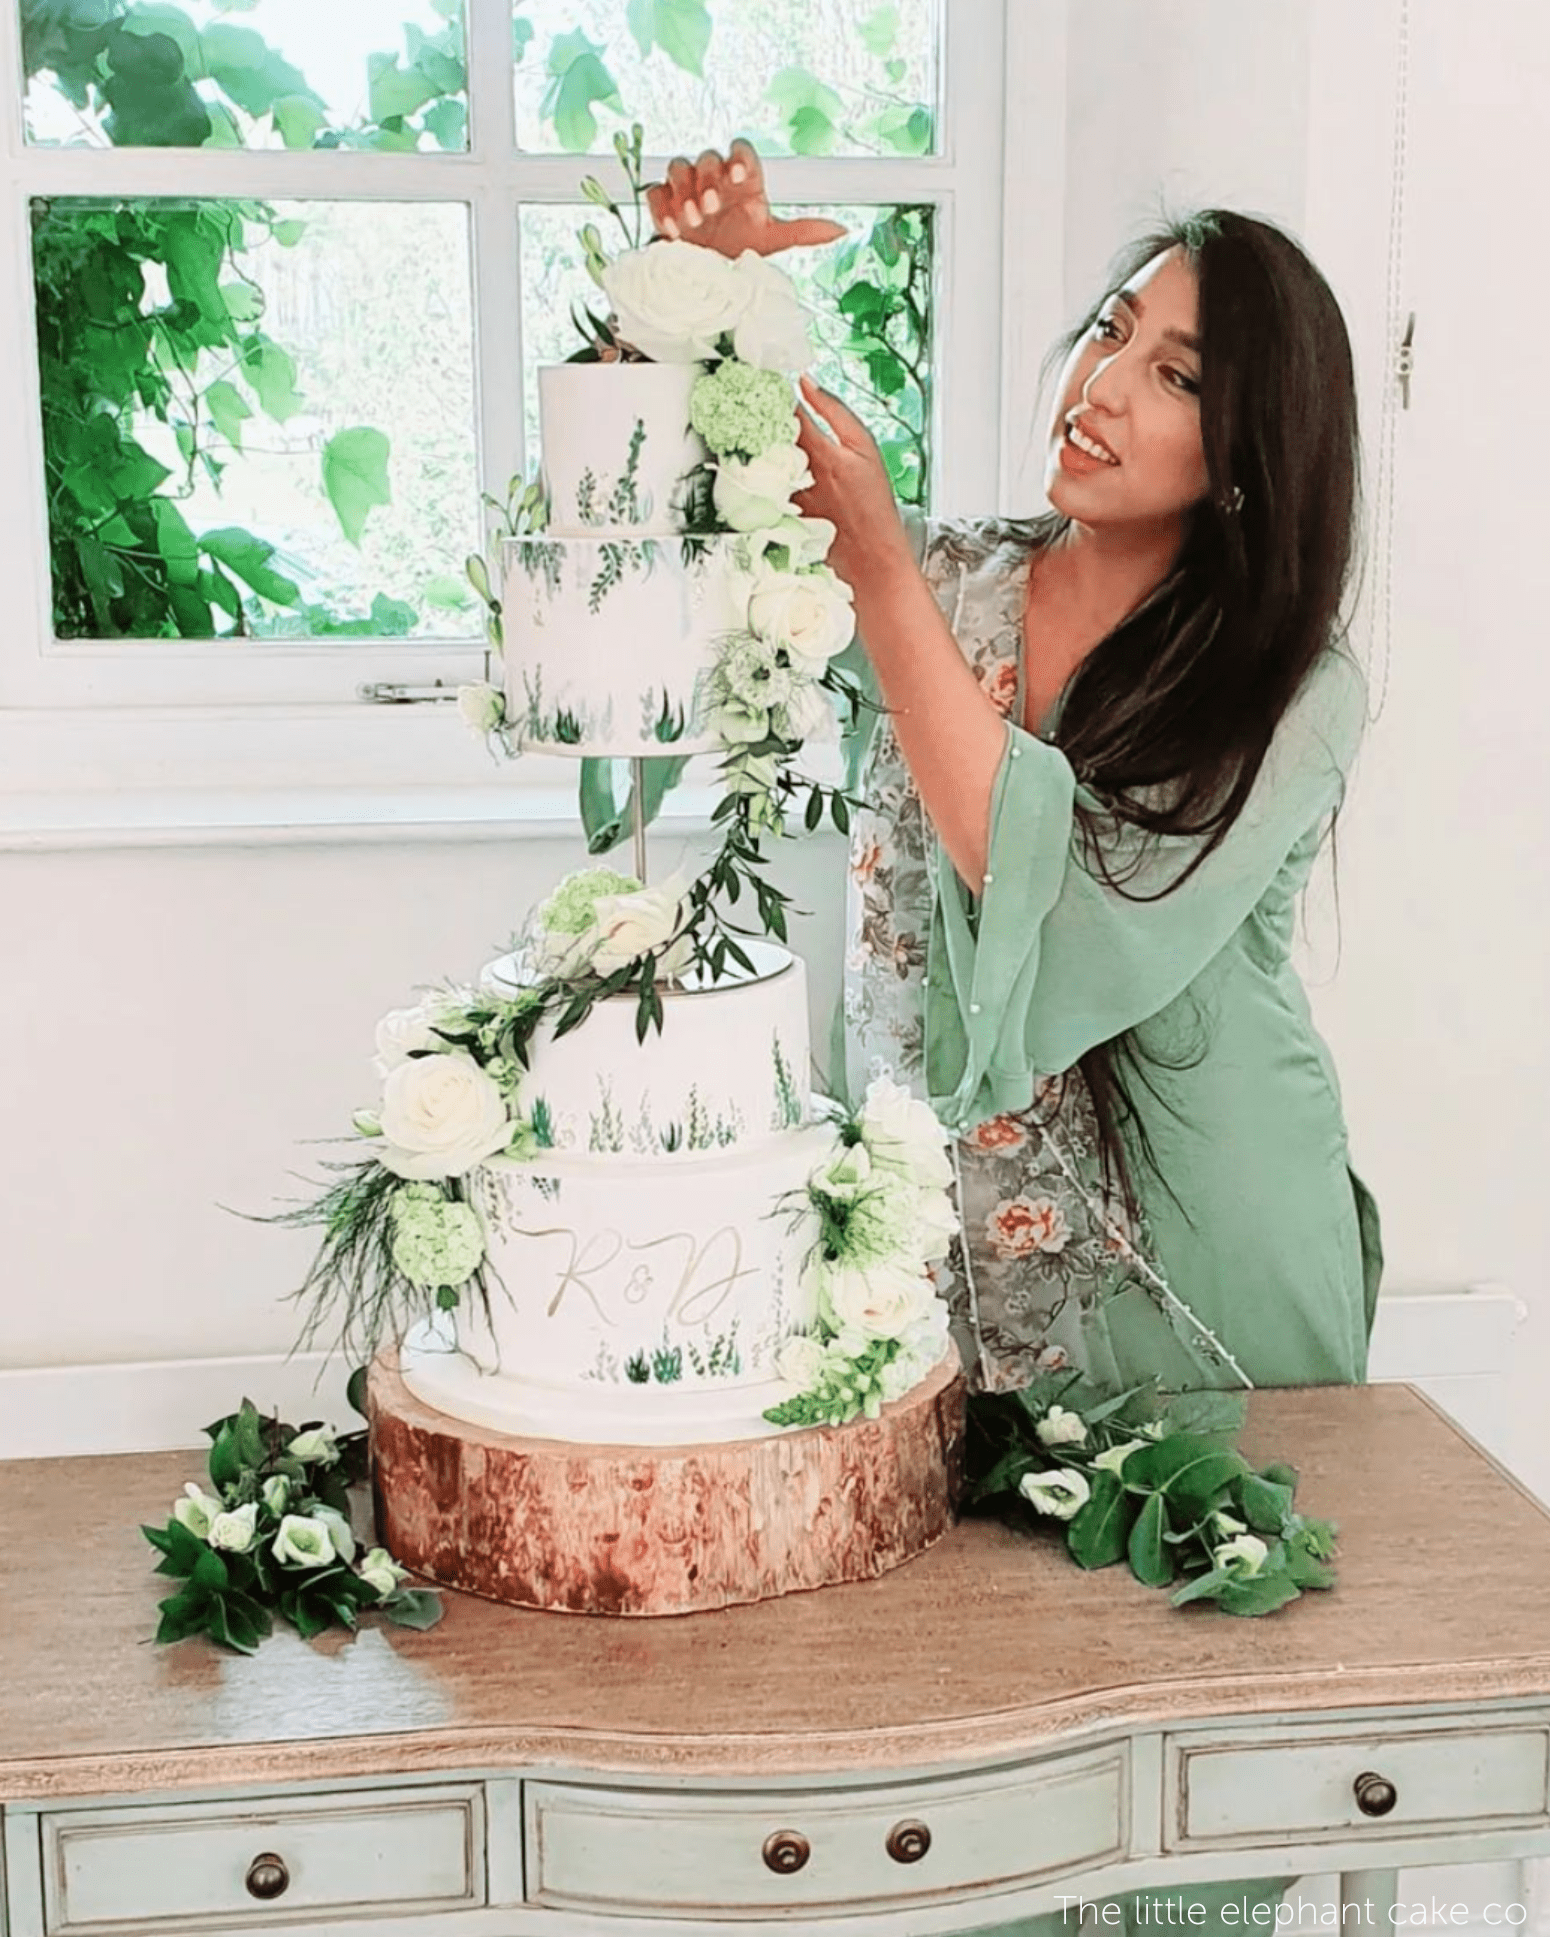
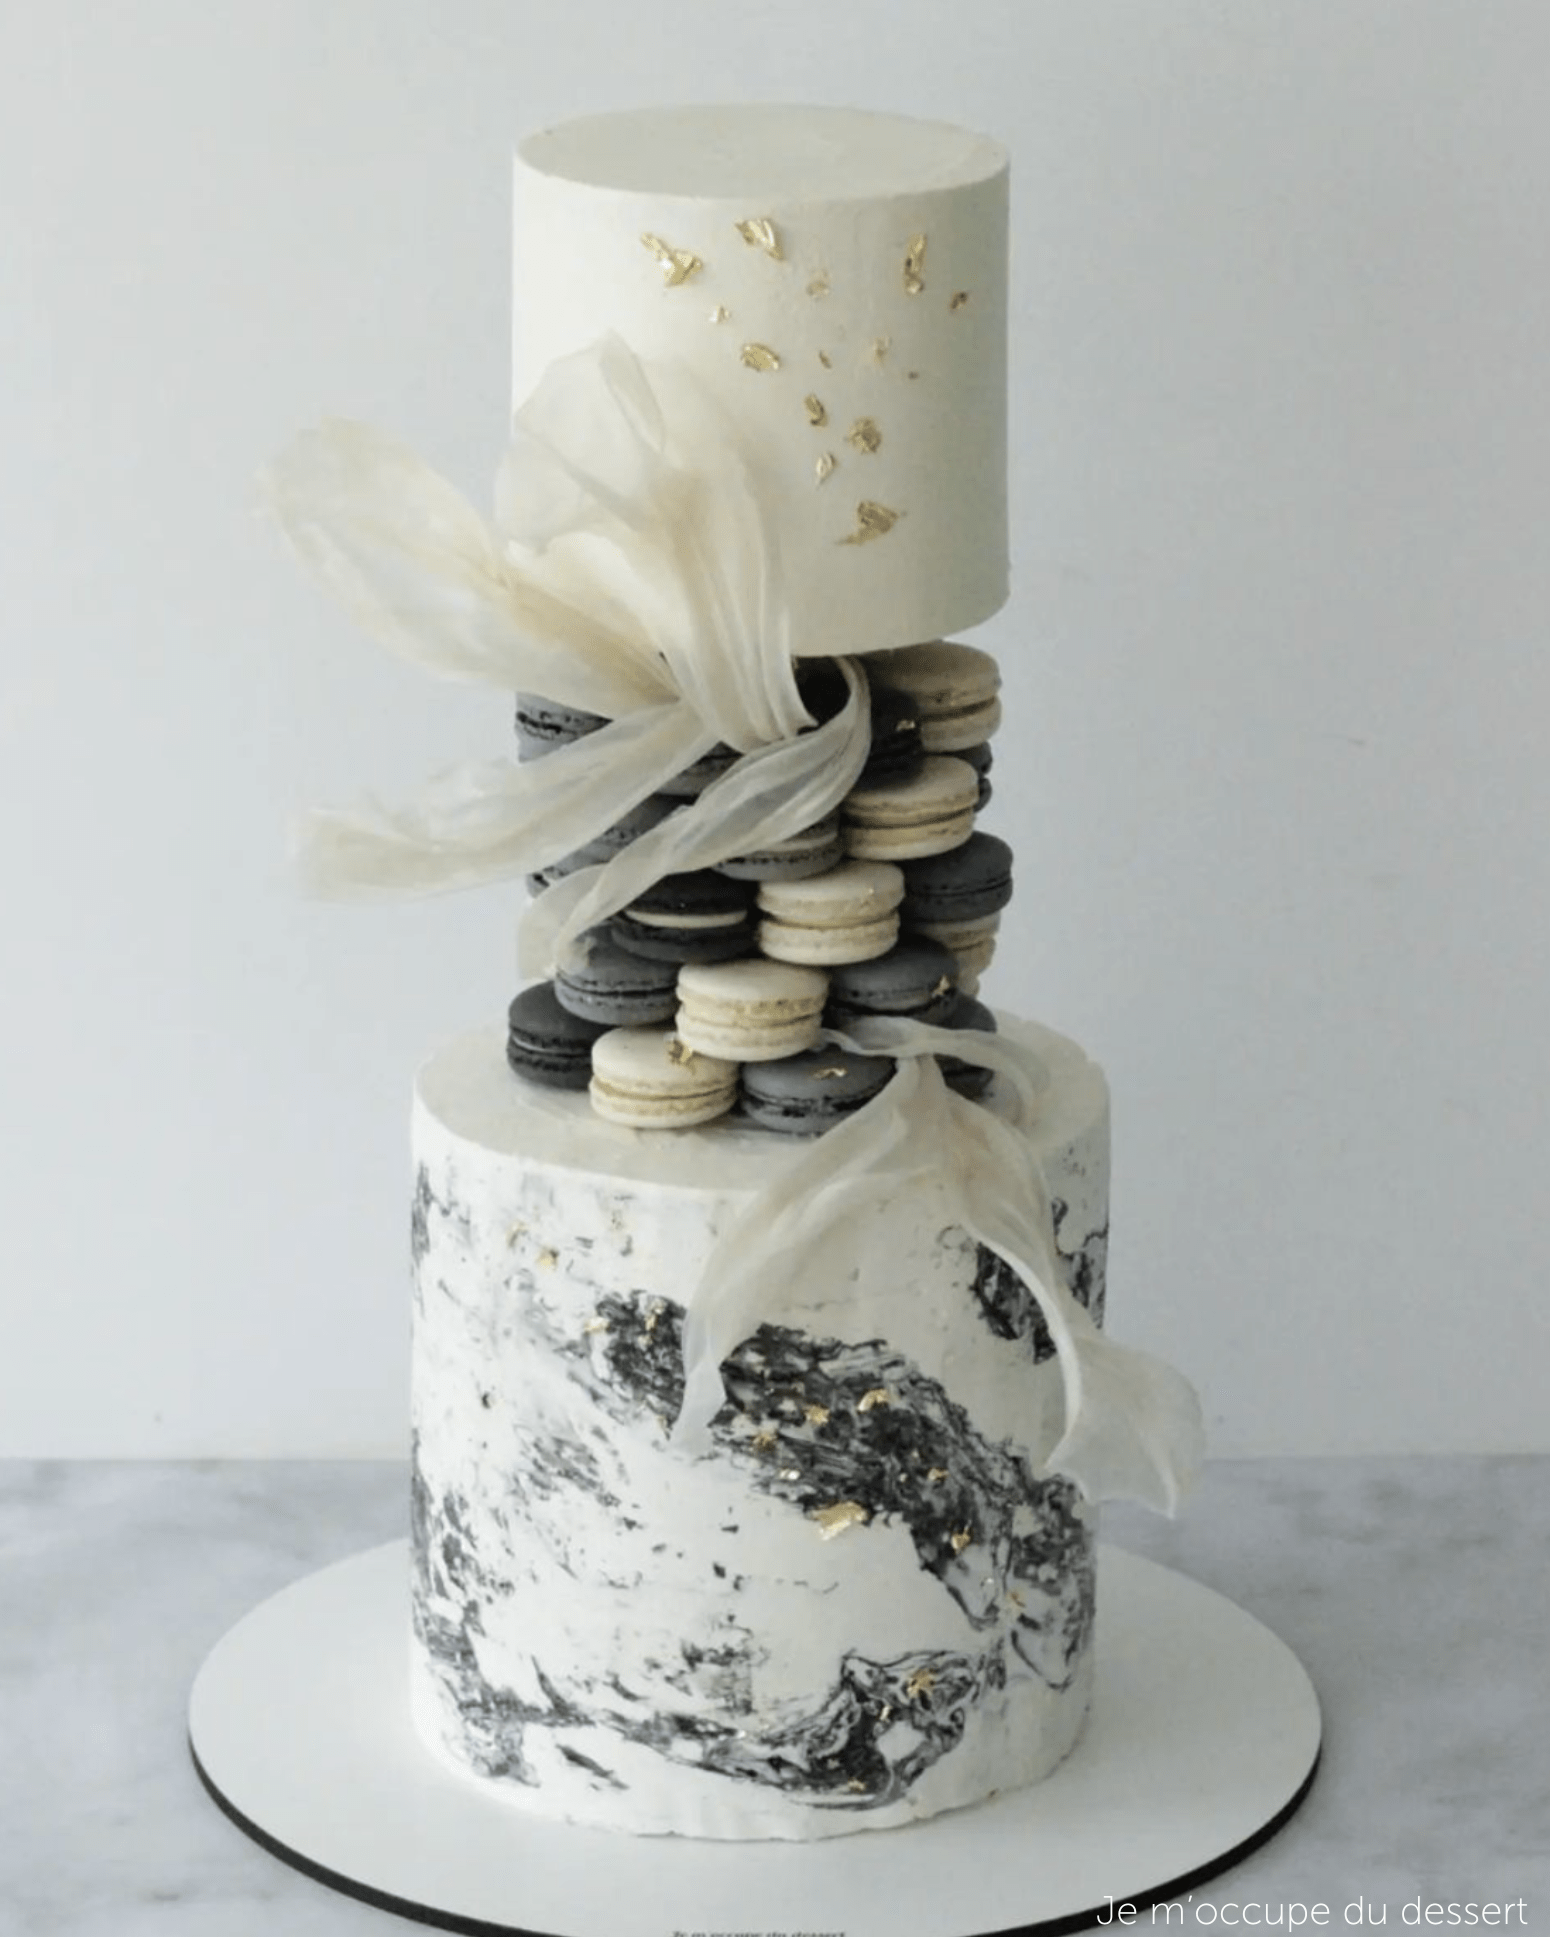
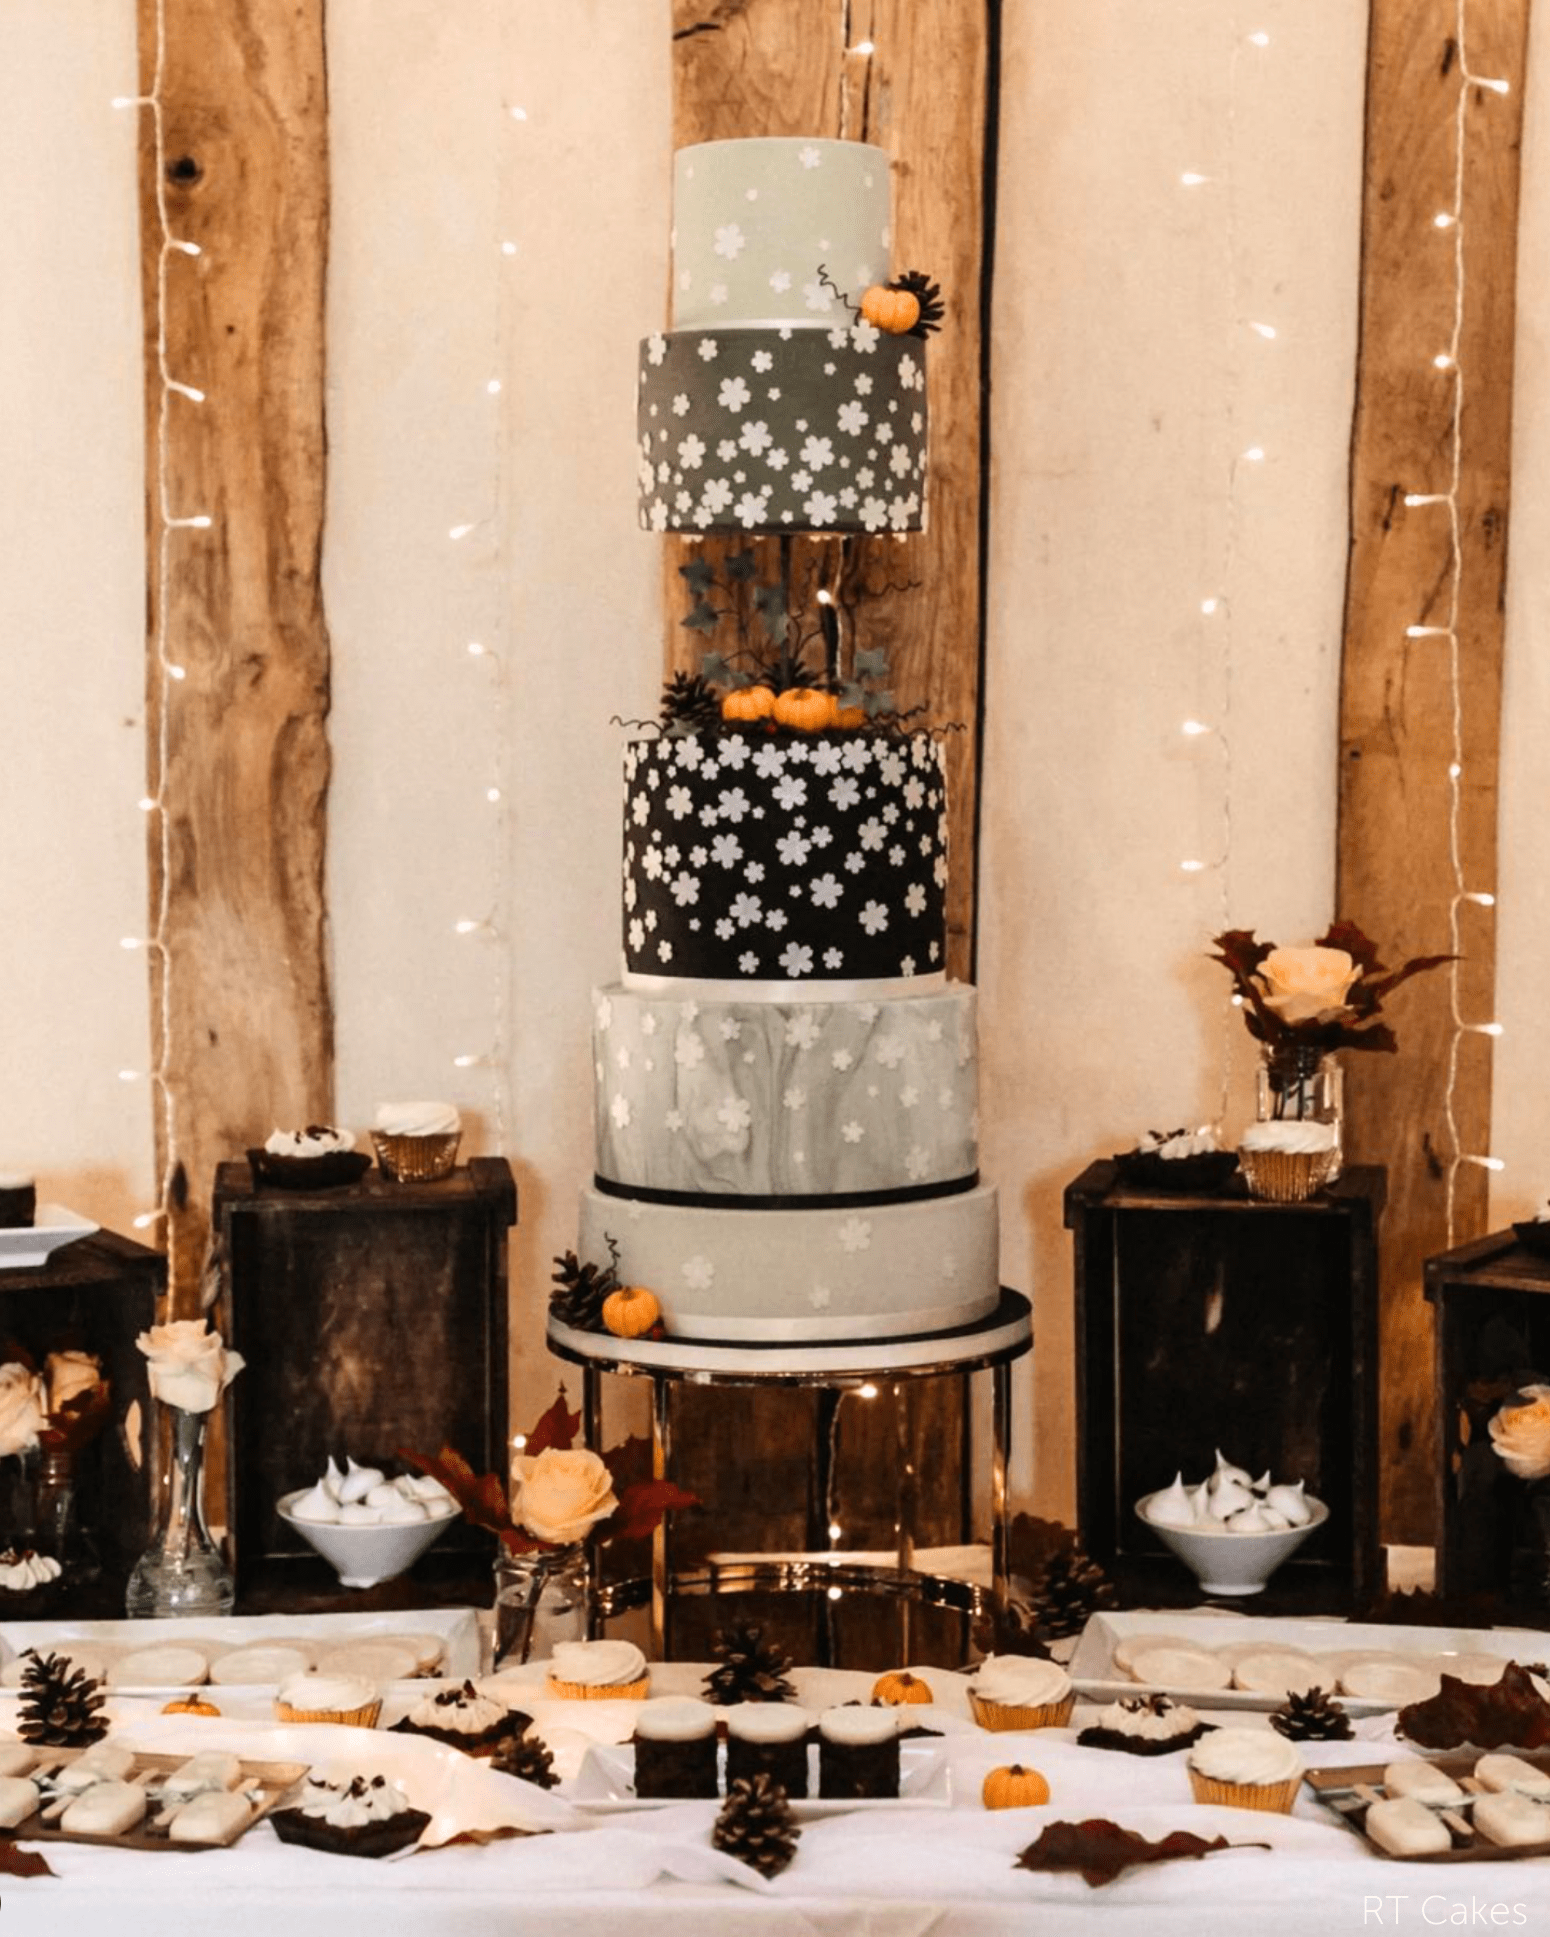
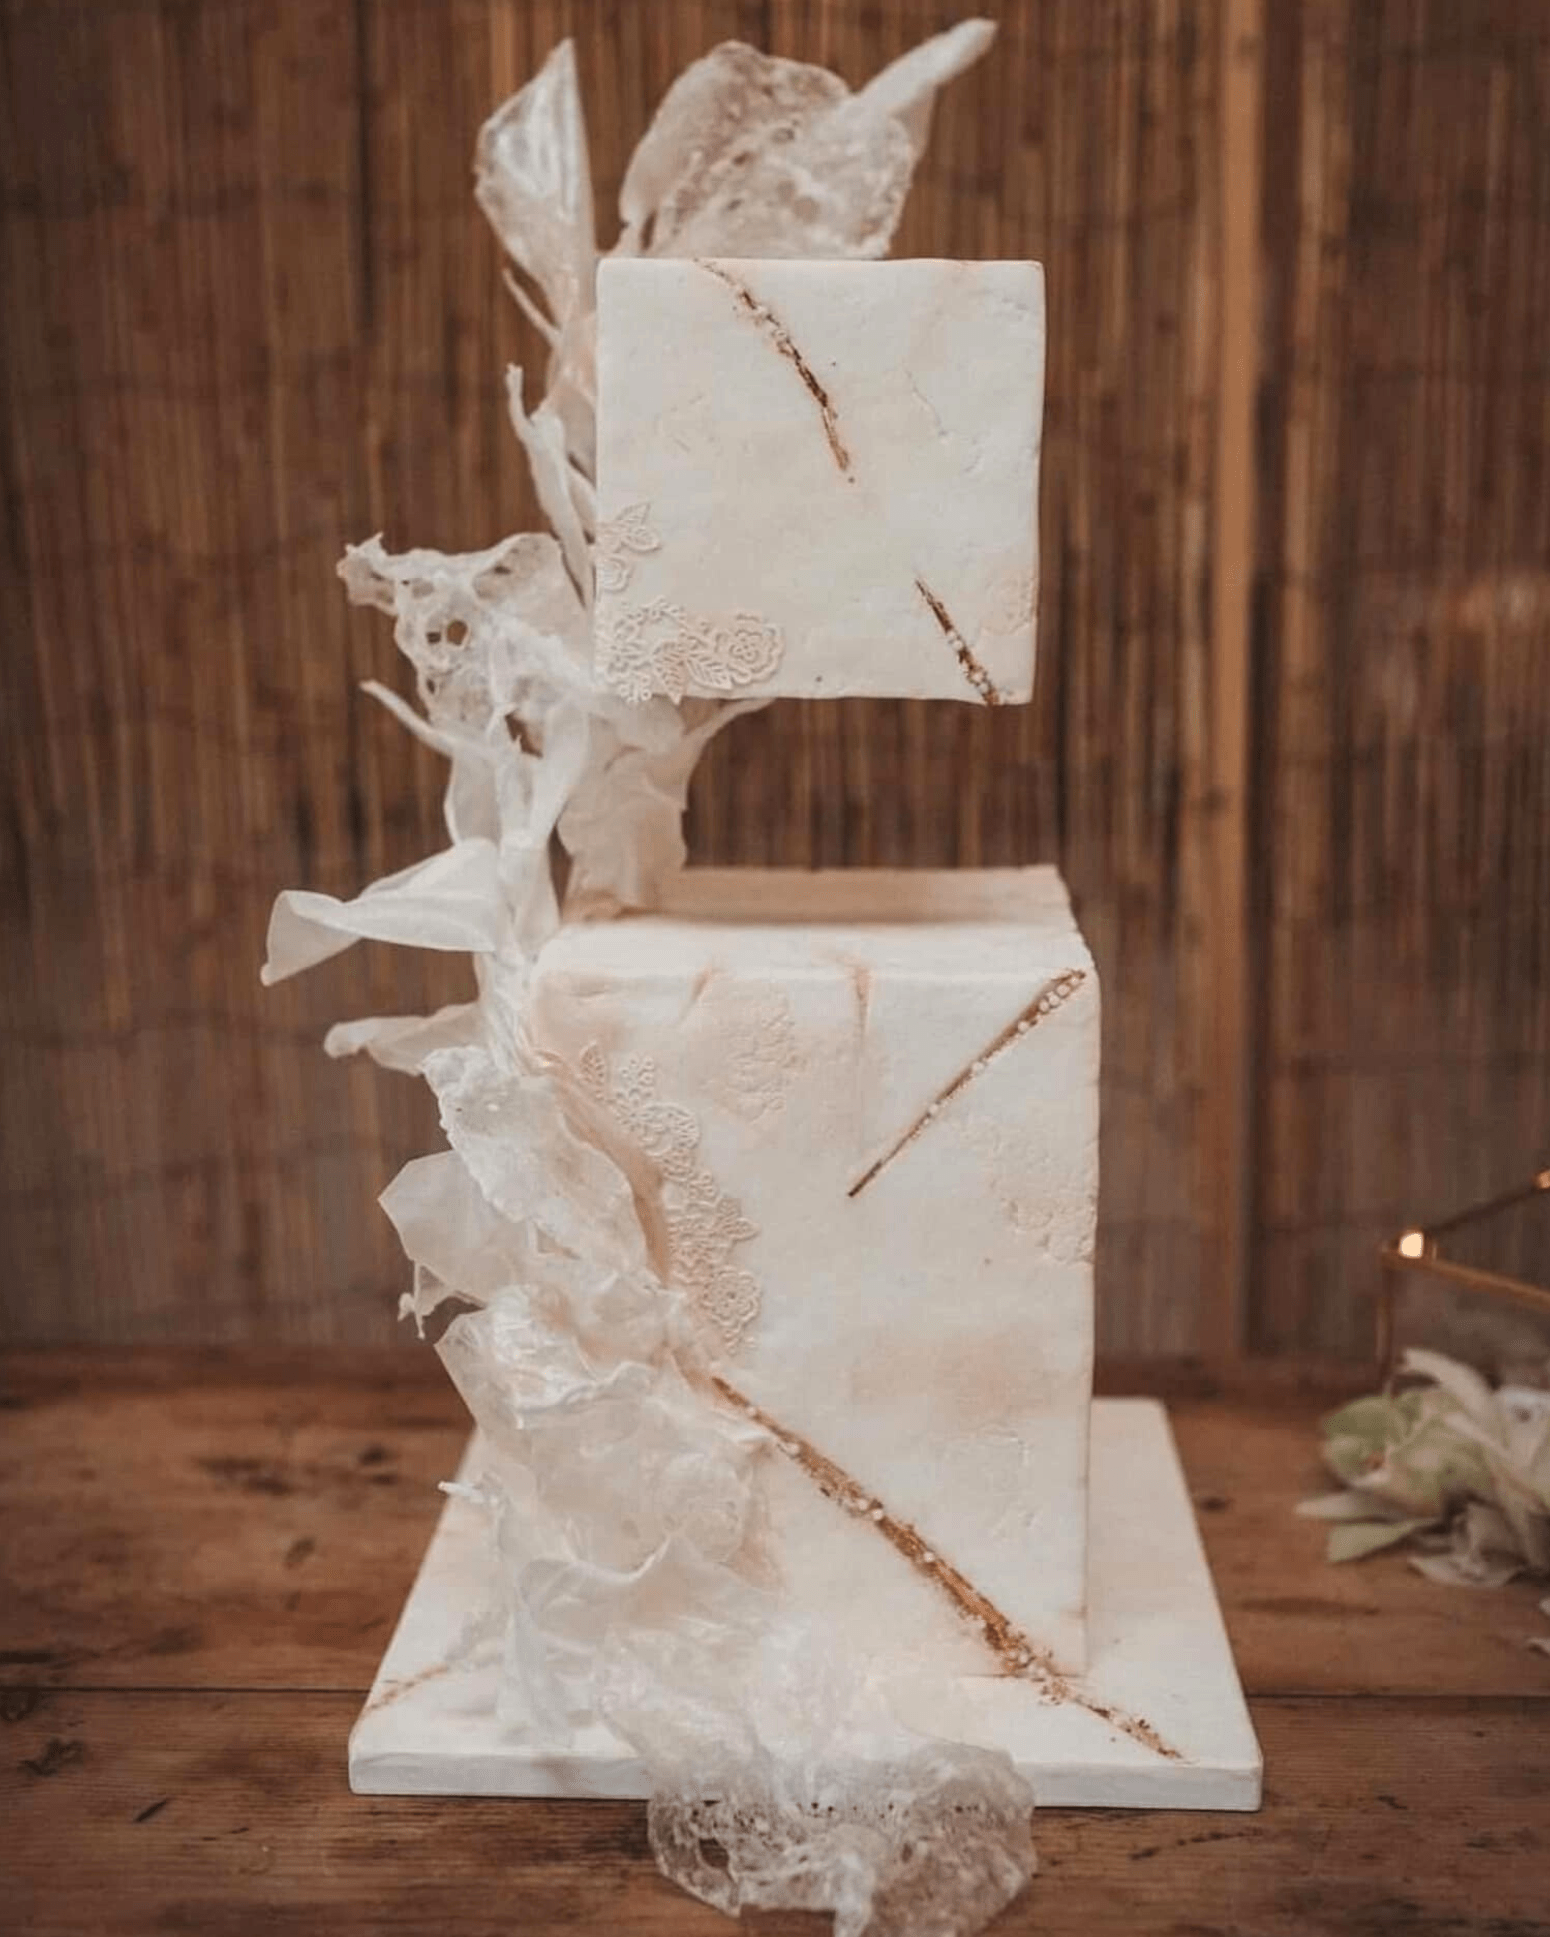
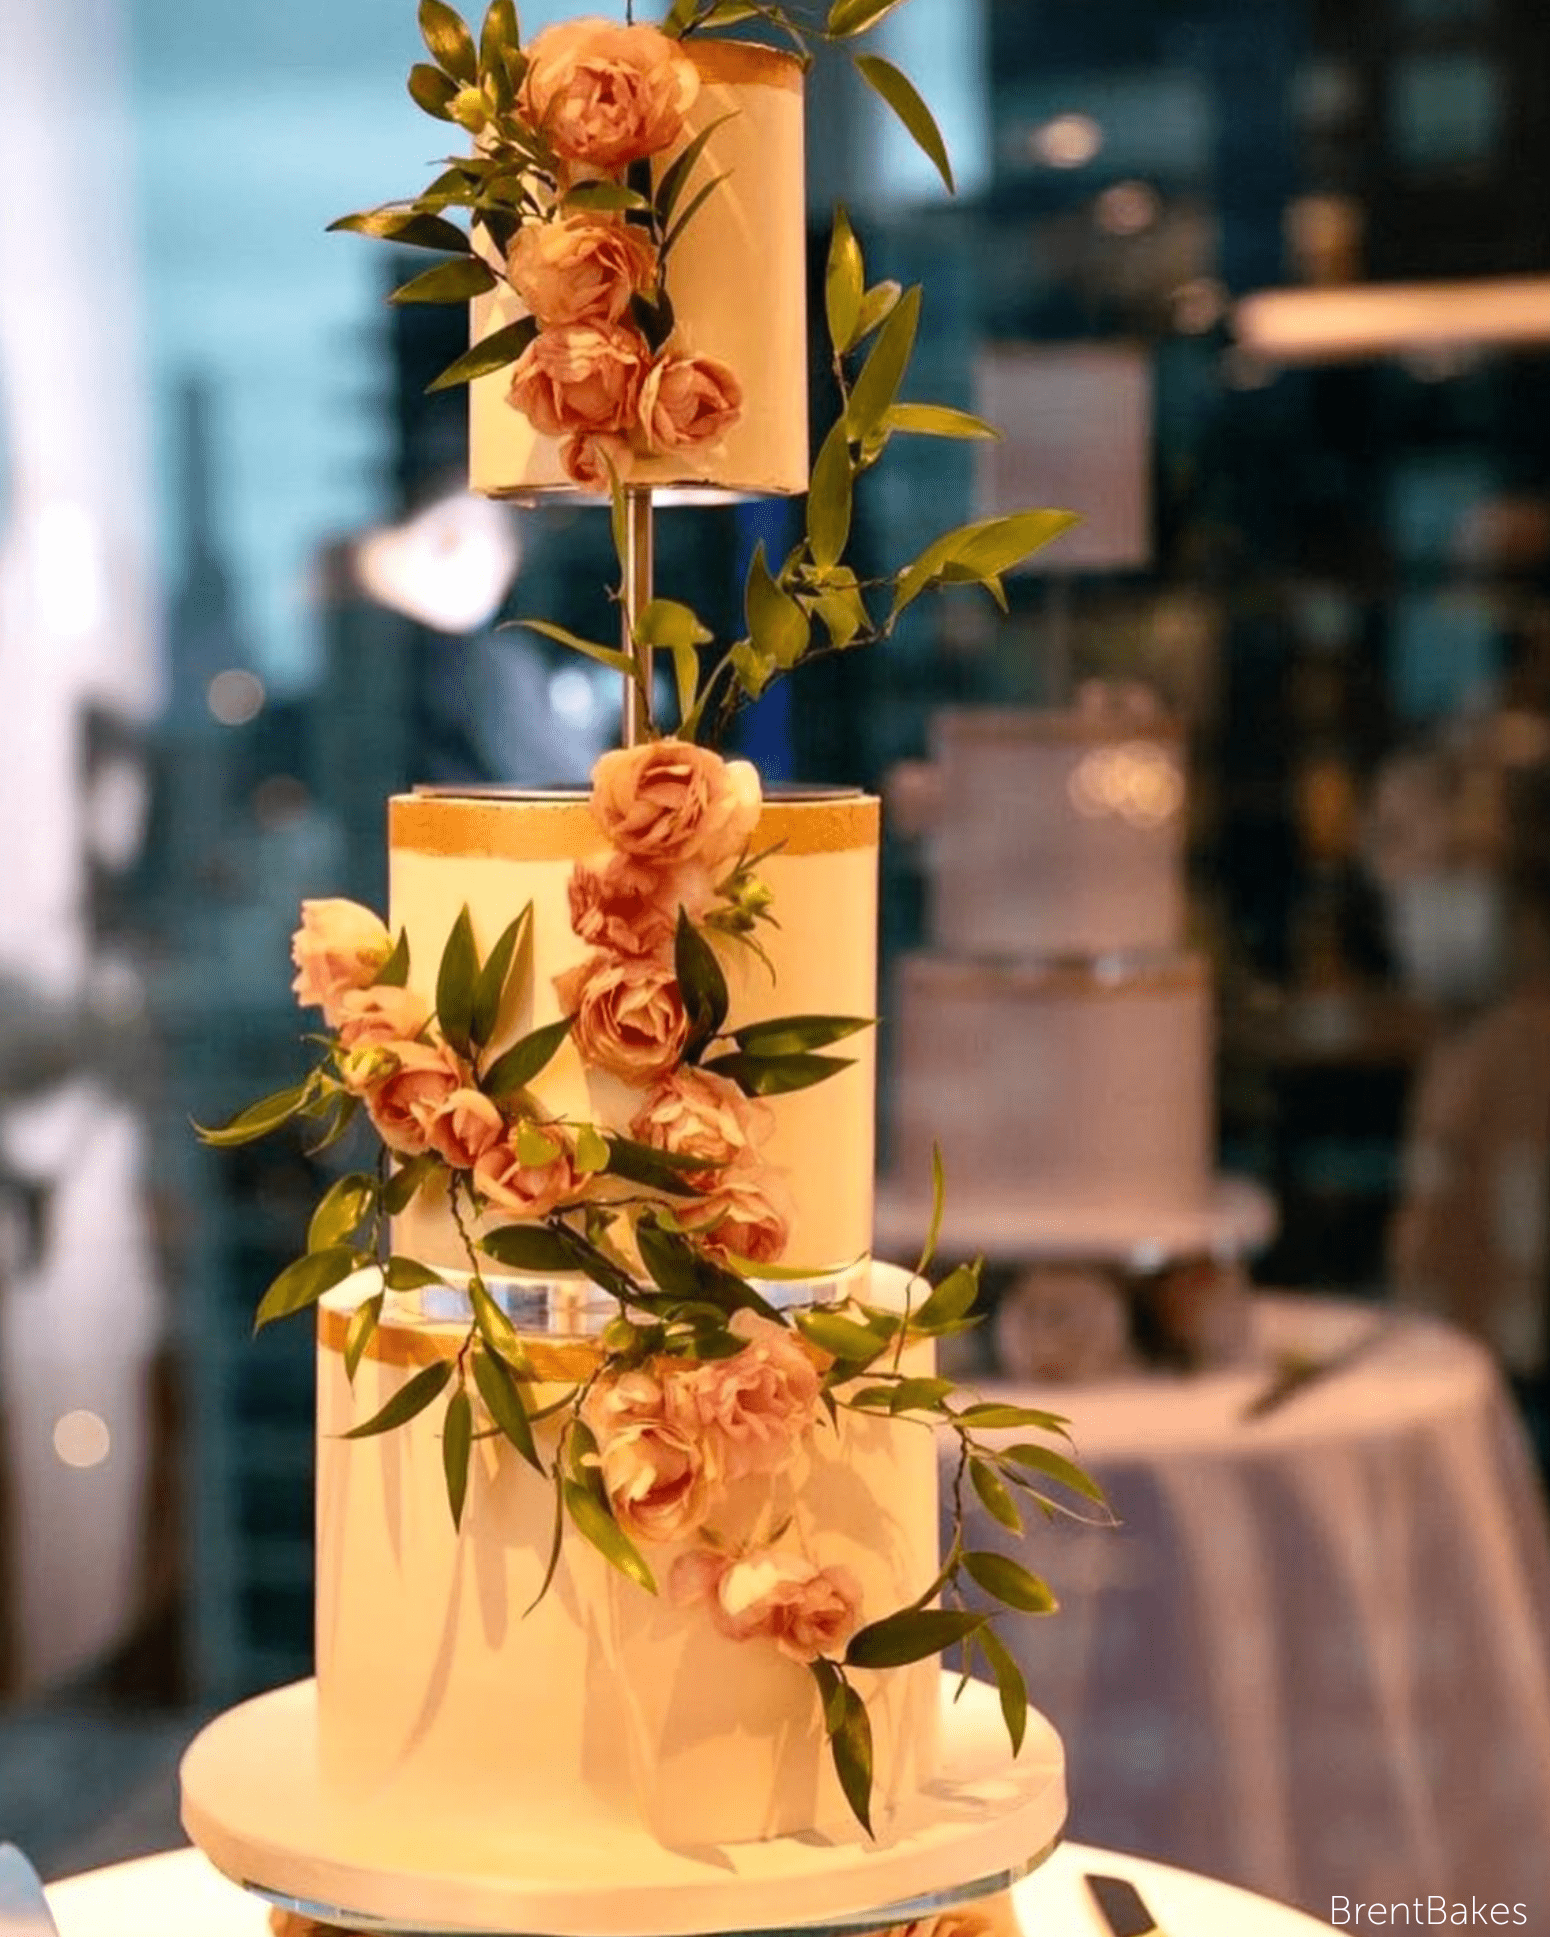
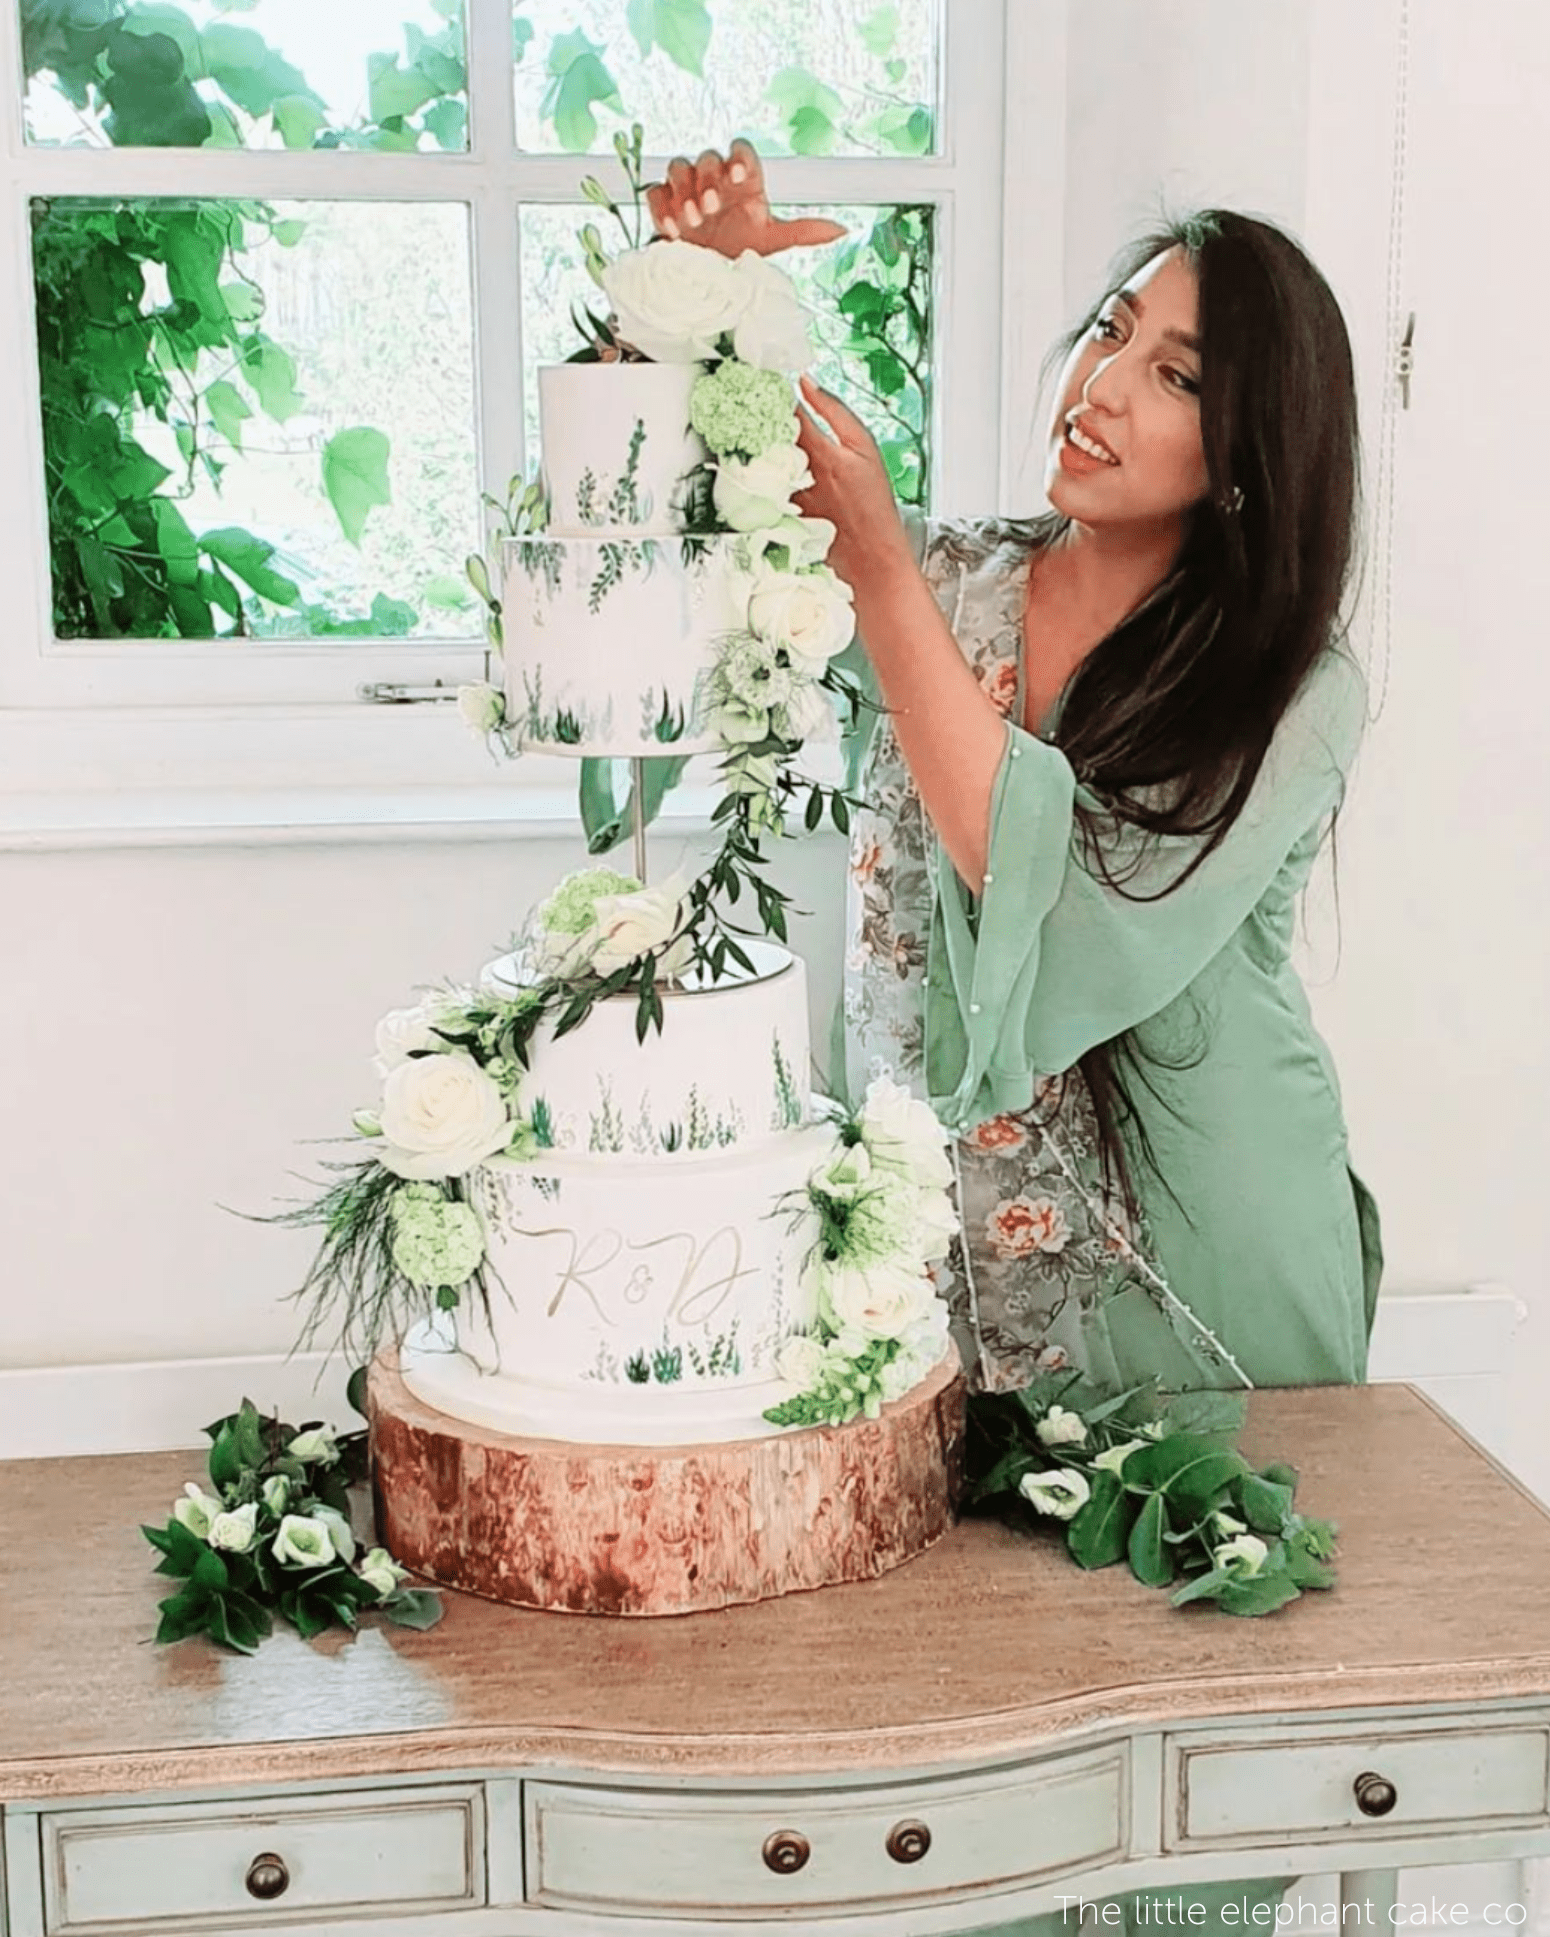
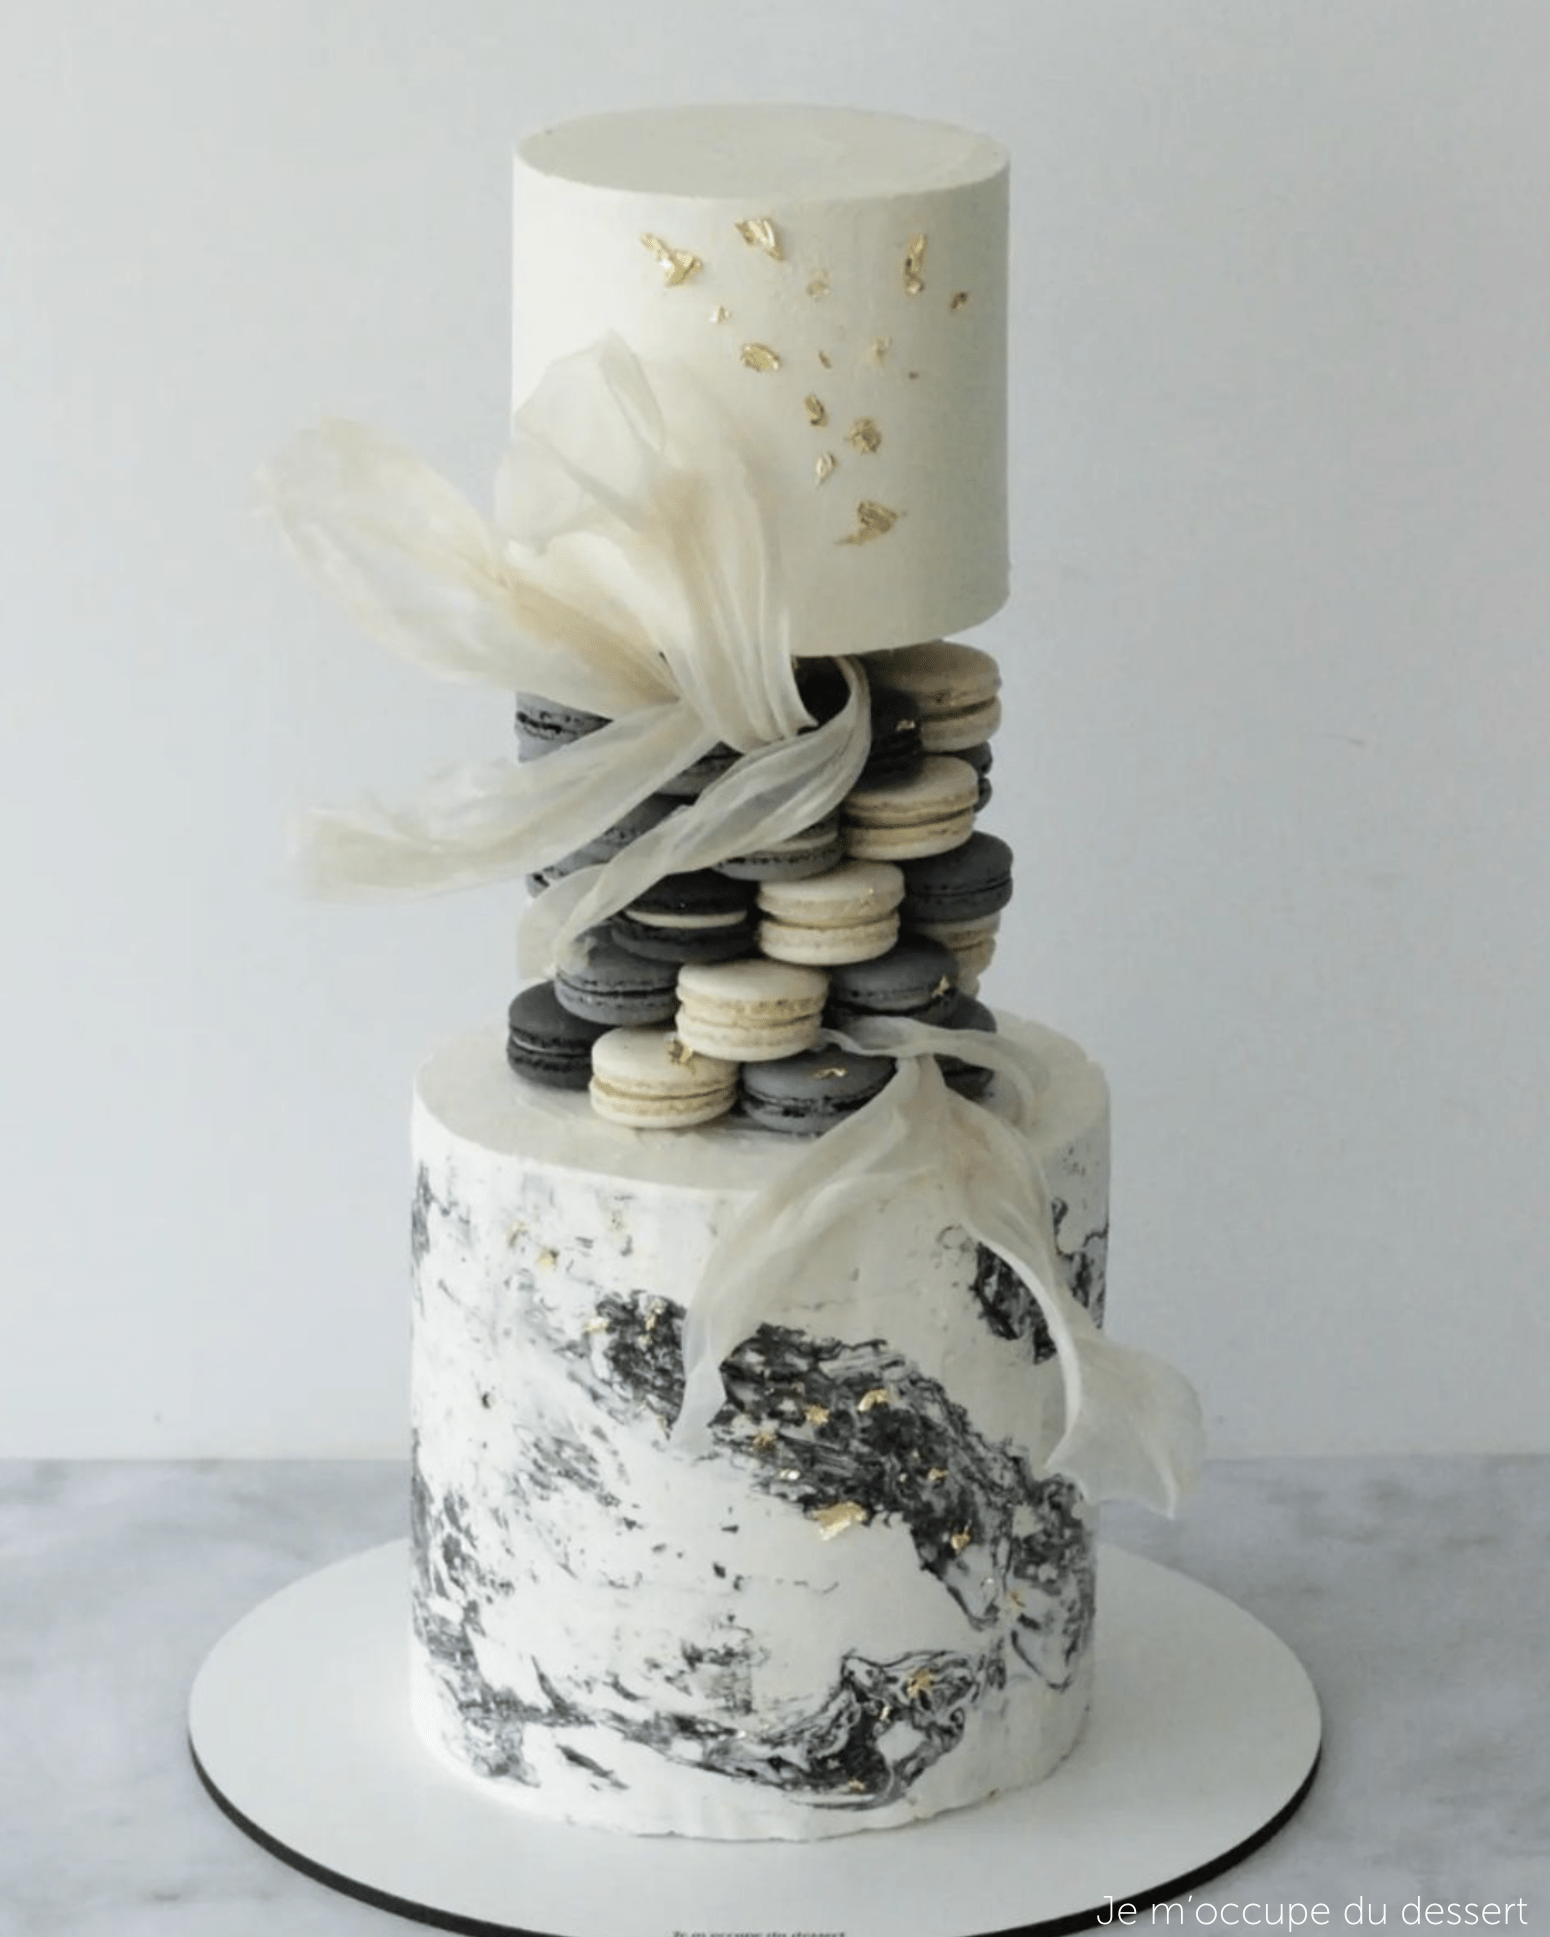
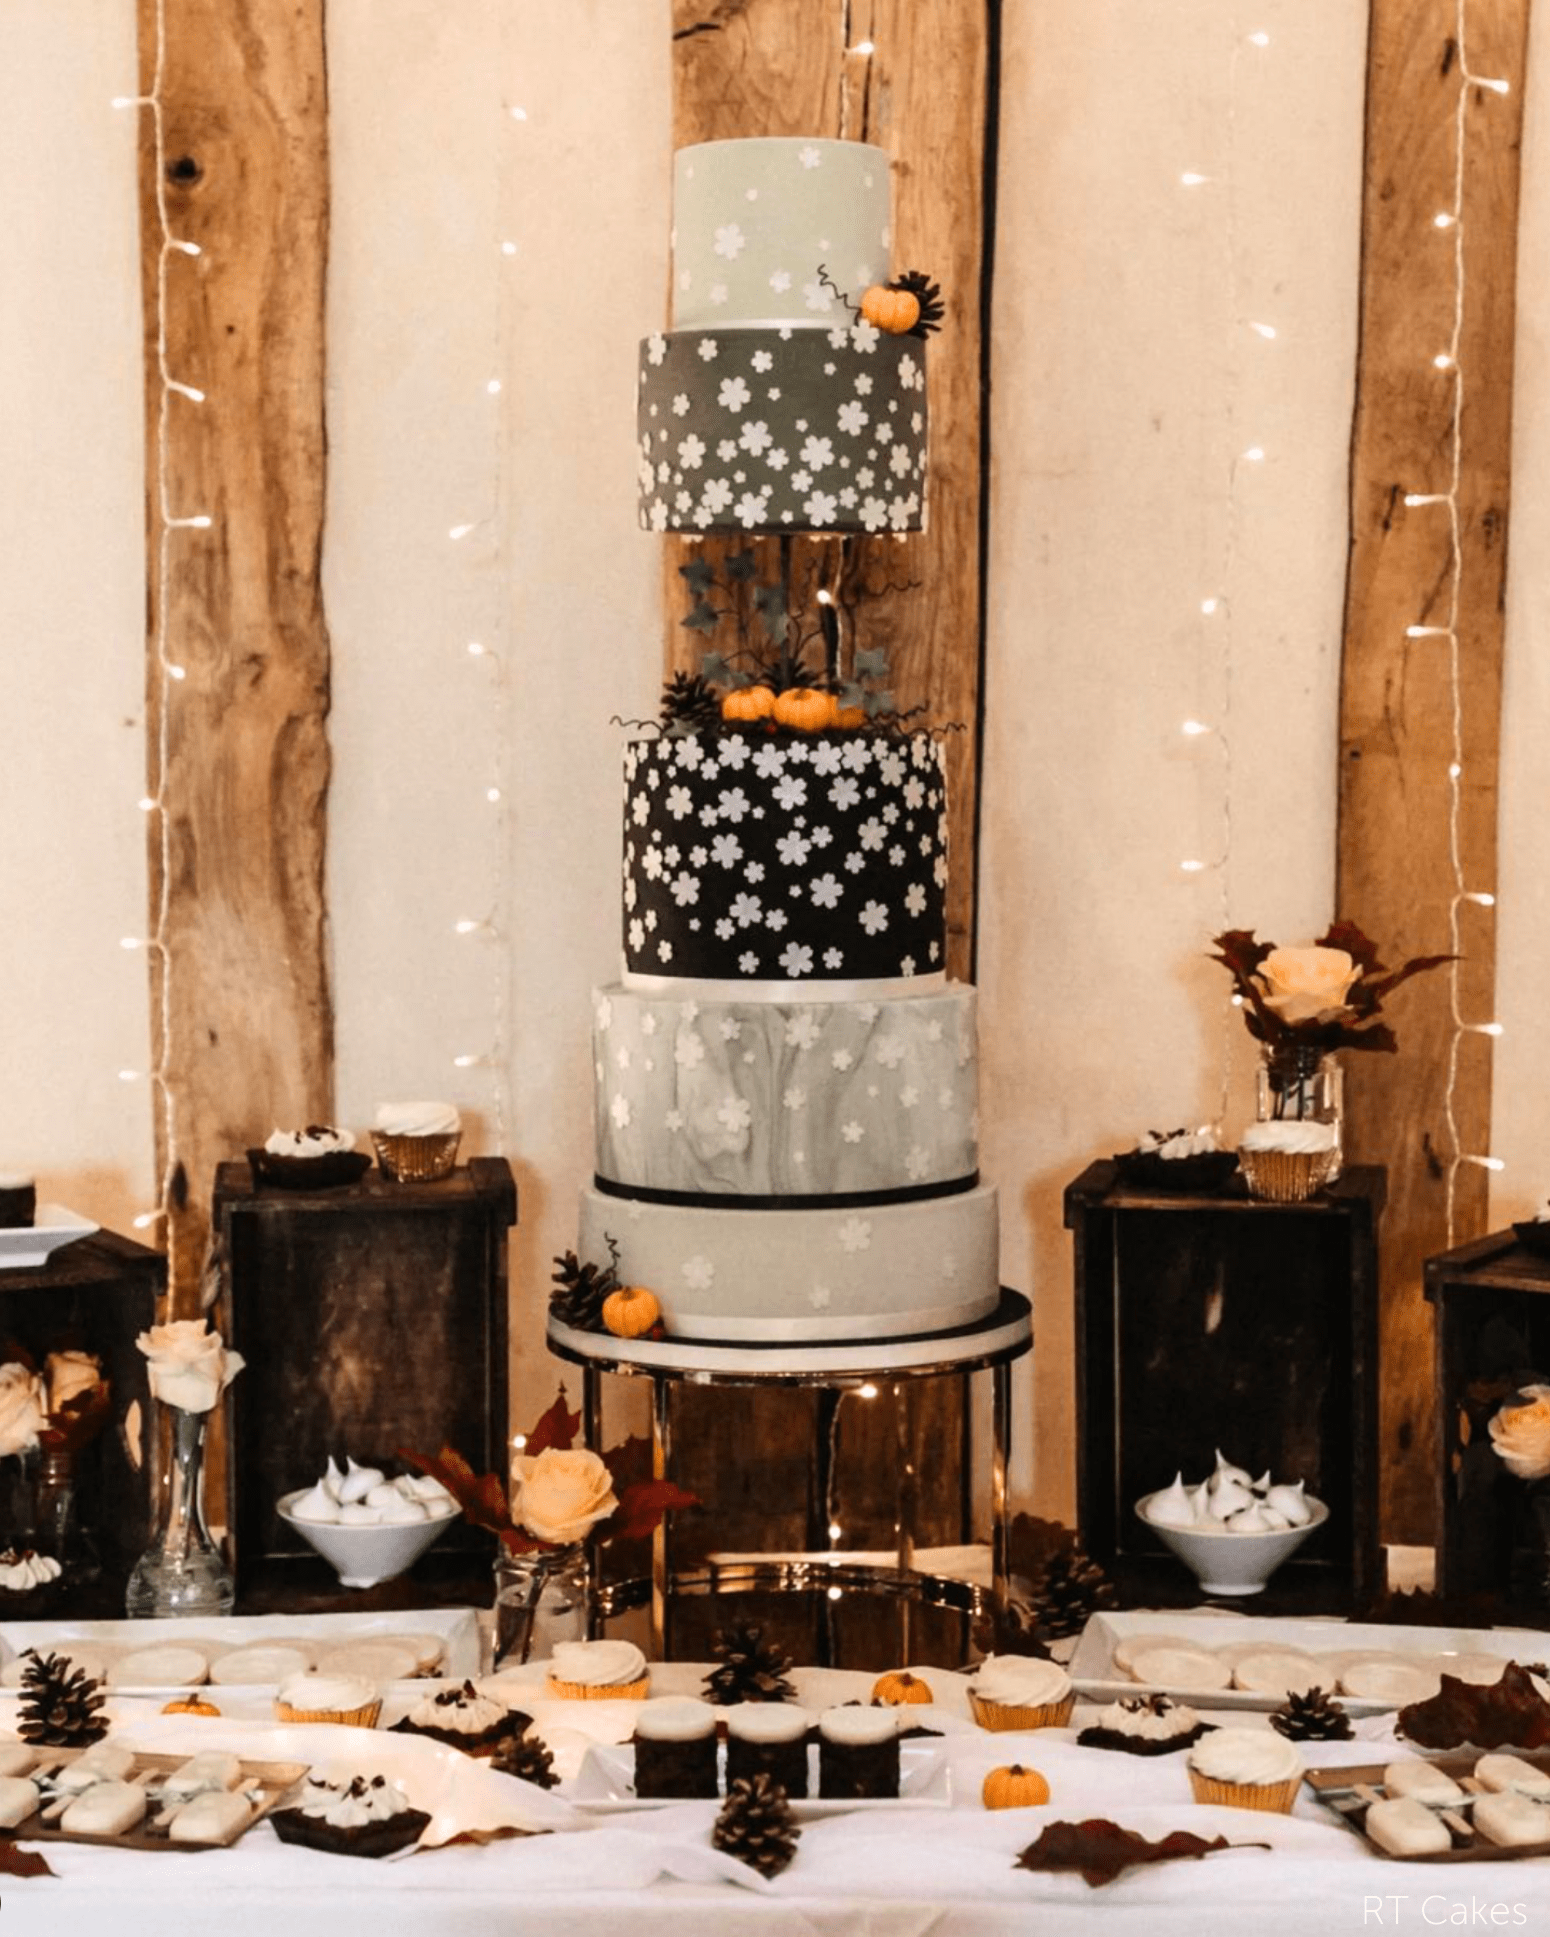
Have you seen are Side Bar series on PropTV over on our YouTube channel? On PropTV, our brand ambassador, Jen from Cakey Lulu’s, introduces you to a game-changing tool for cake decorating: the Prop Options Side Bar Separator. This innovative piece of equipment not only adds extra height to your cakes but also delivers that show-stopping "wow" factor with minimal waste.
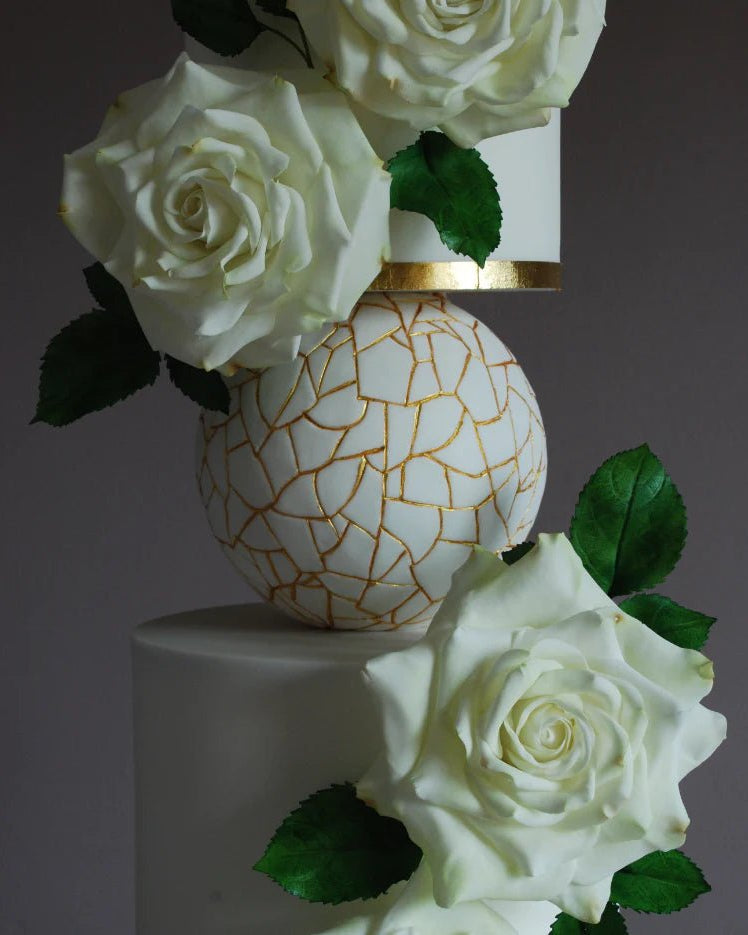
In this guide, Jen shows you how to use the Prop Options Side Bar separator to create a stunning floating tier effect on your cakes. We go through attaching the separator, covering the bottom plate, and blending everything seamlessly with sugar paste, all with helpful links to our accompanying YouTube series!
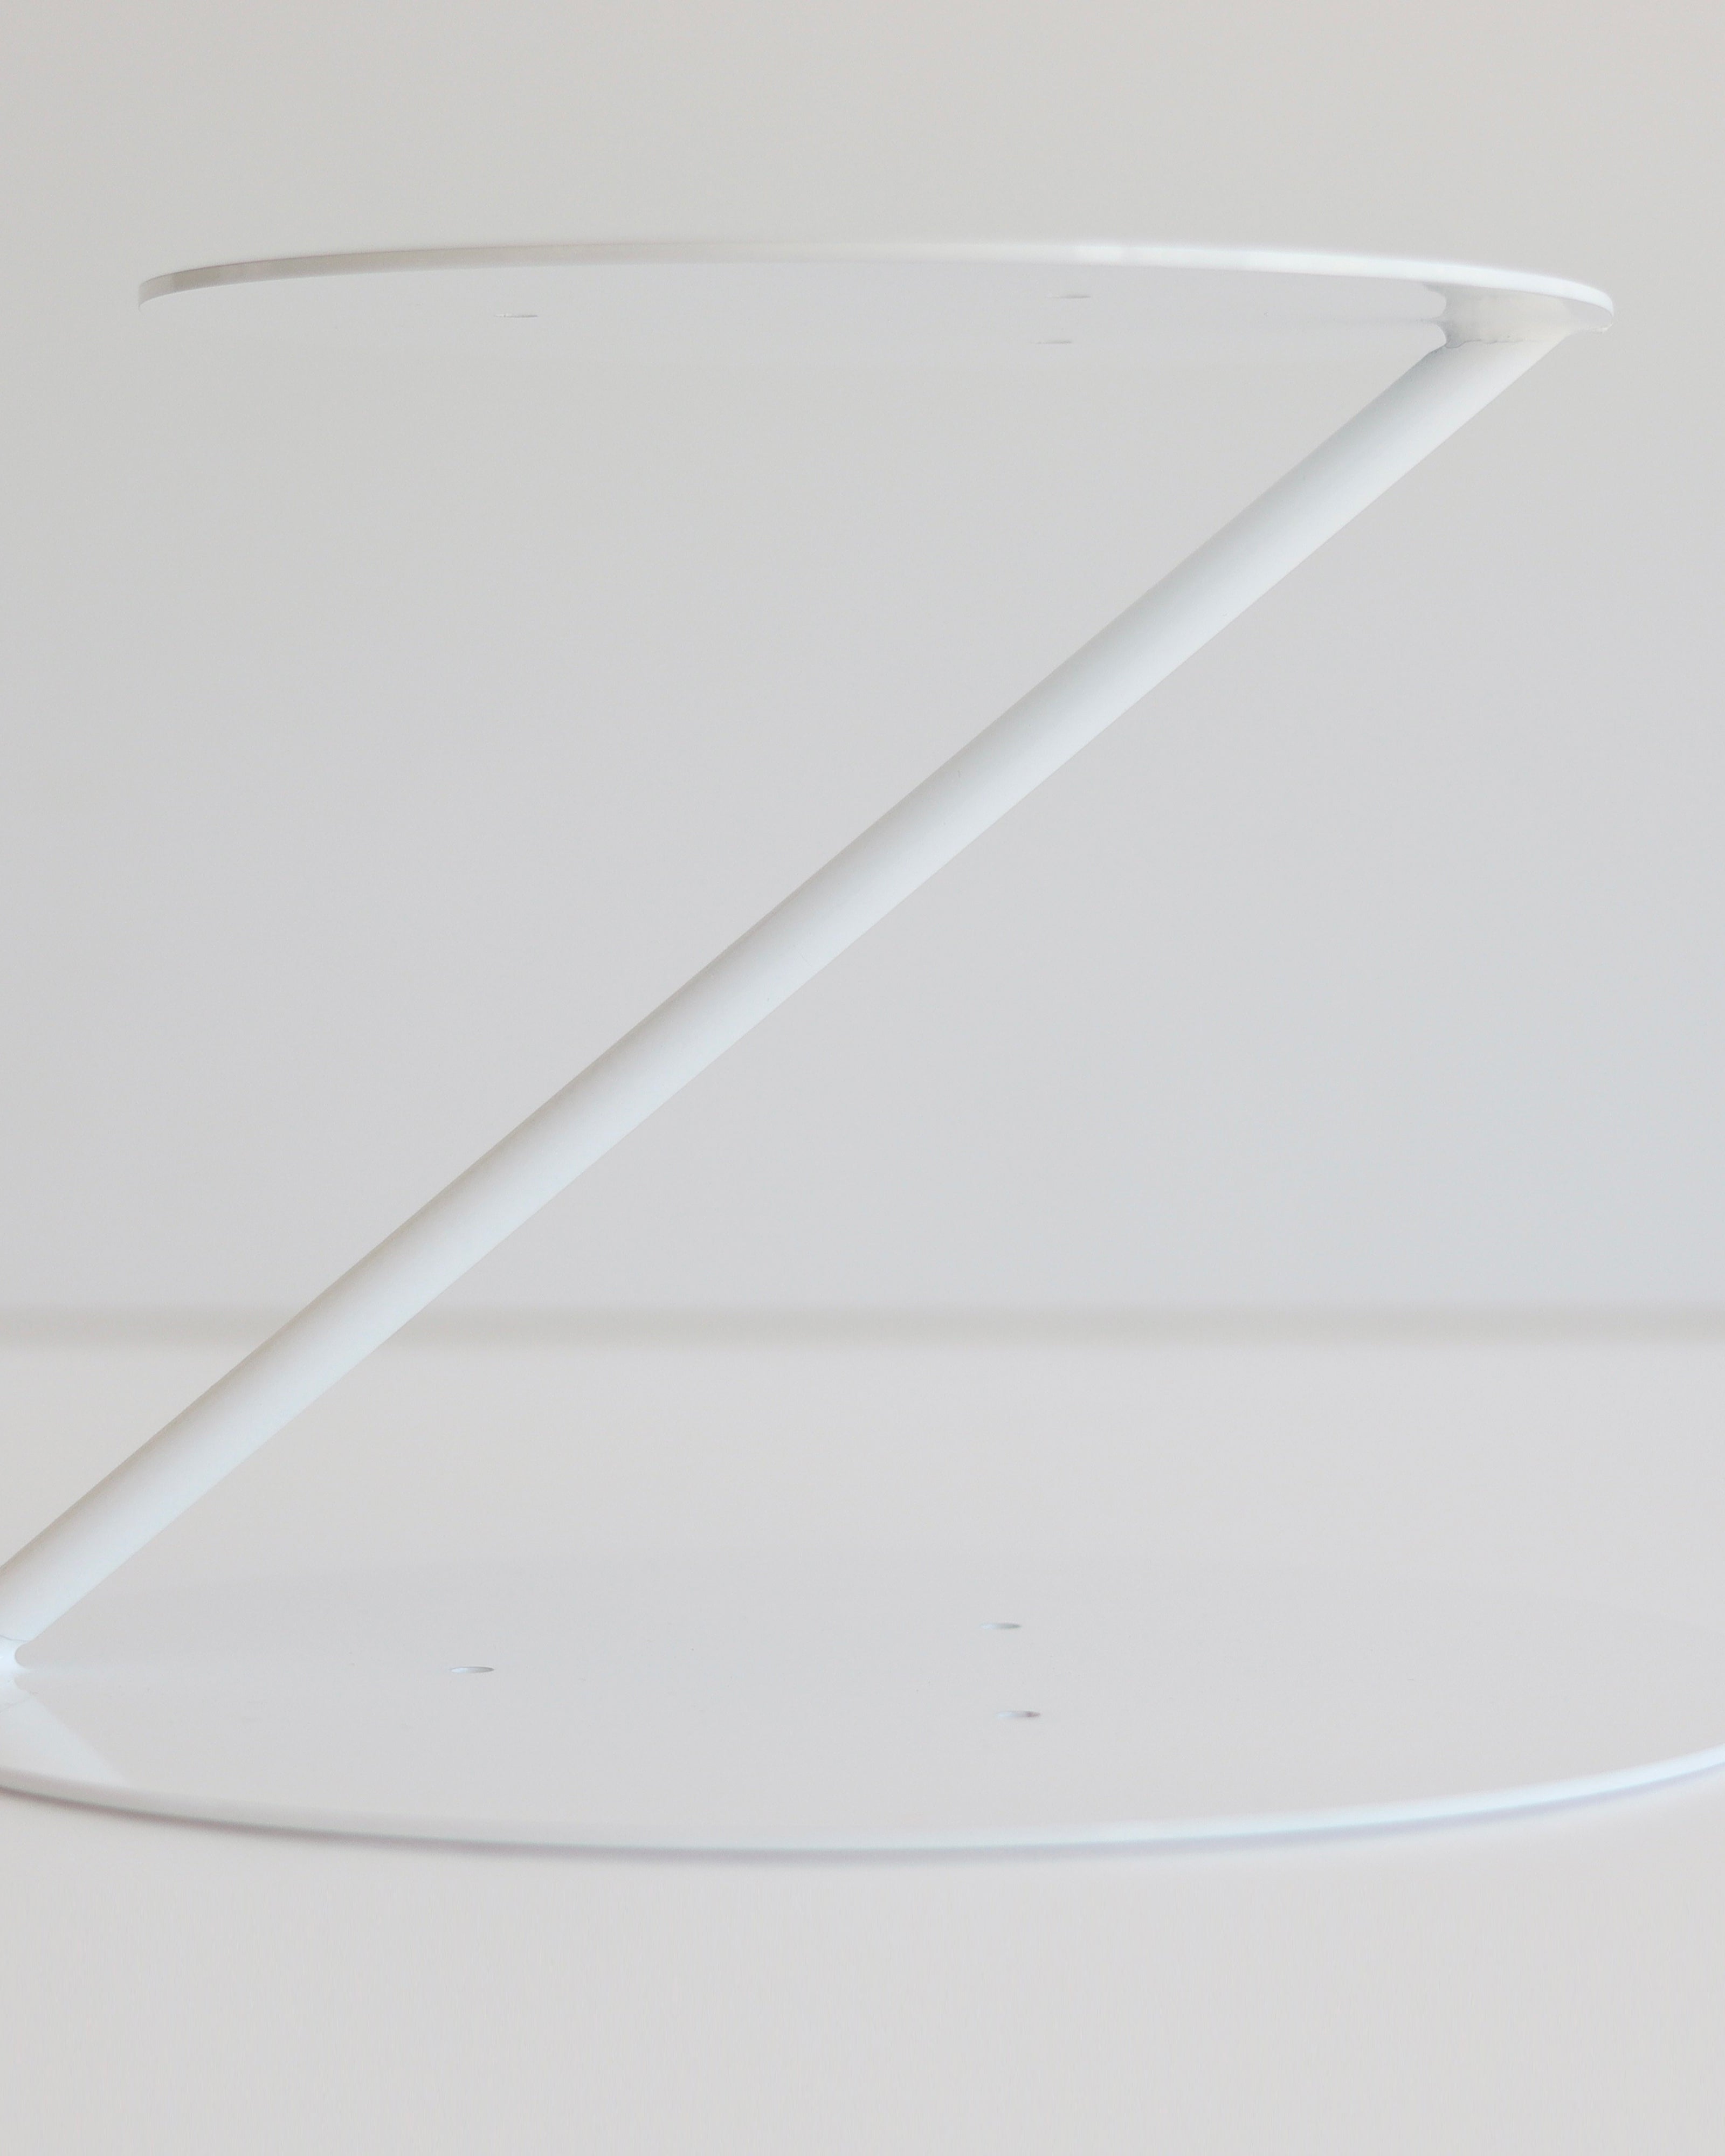
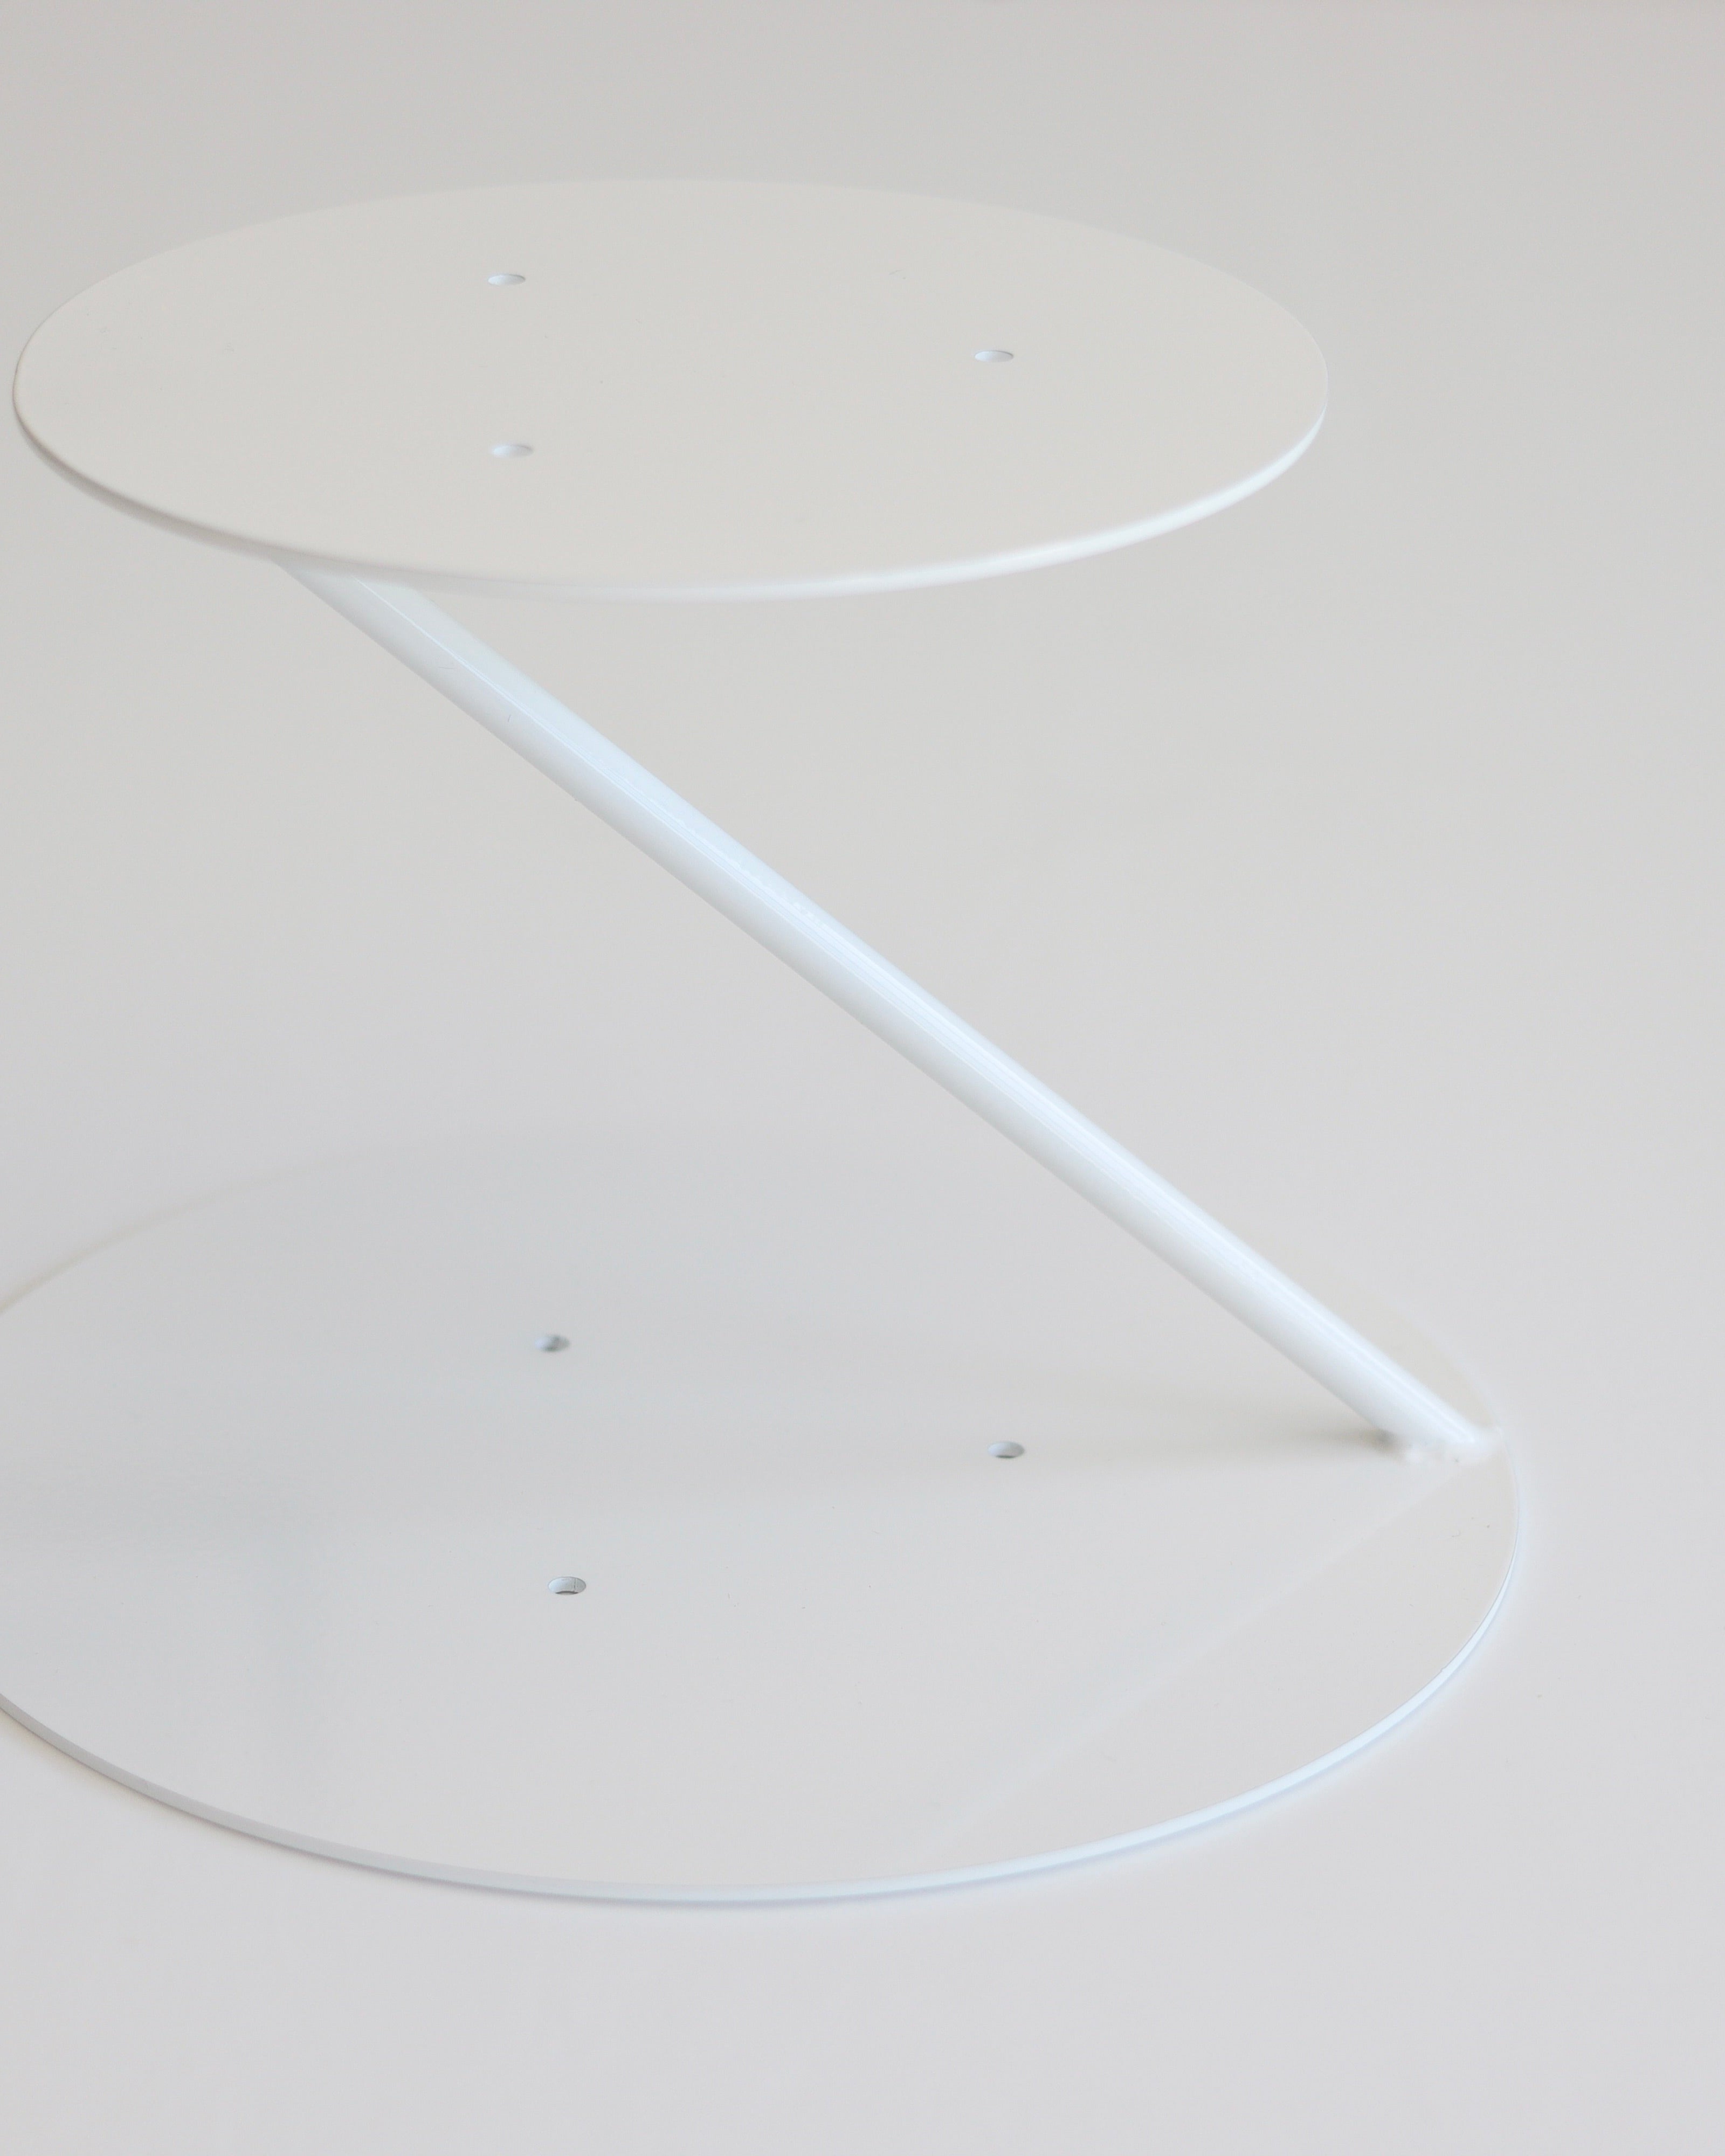
What is the Side Bar Separator?
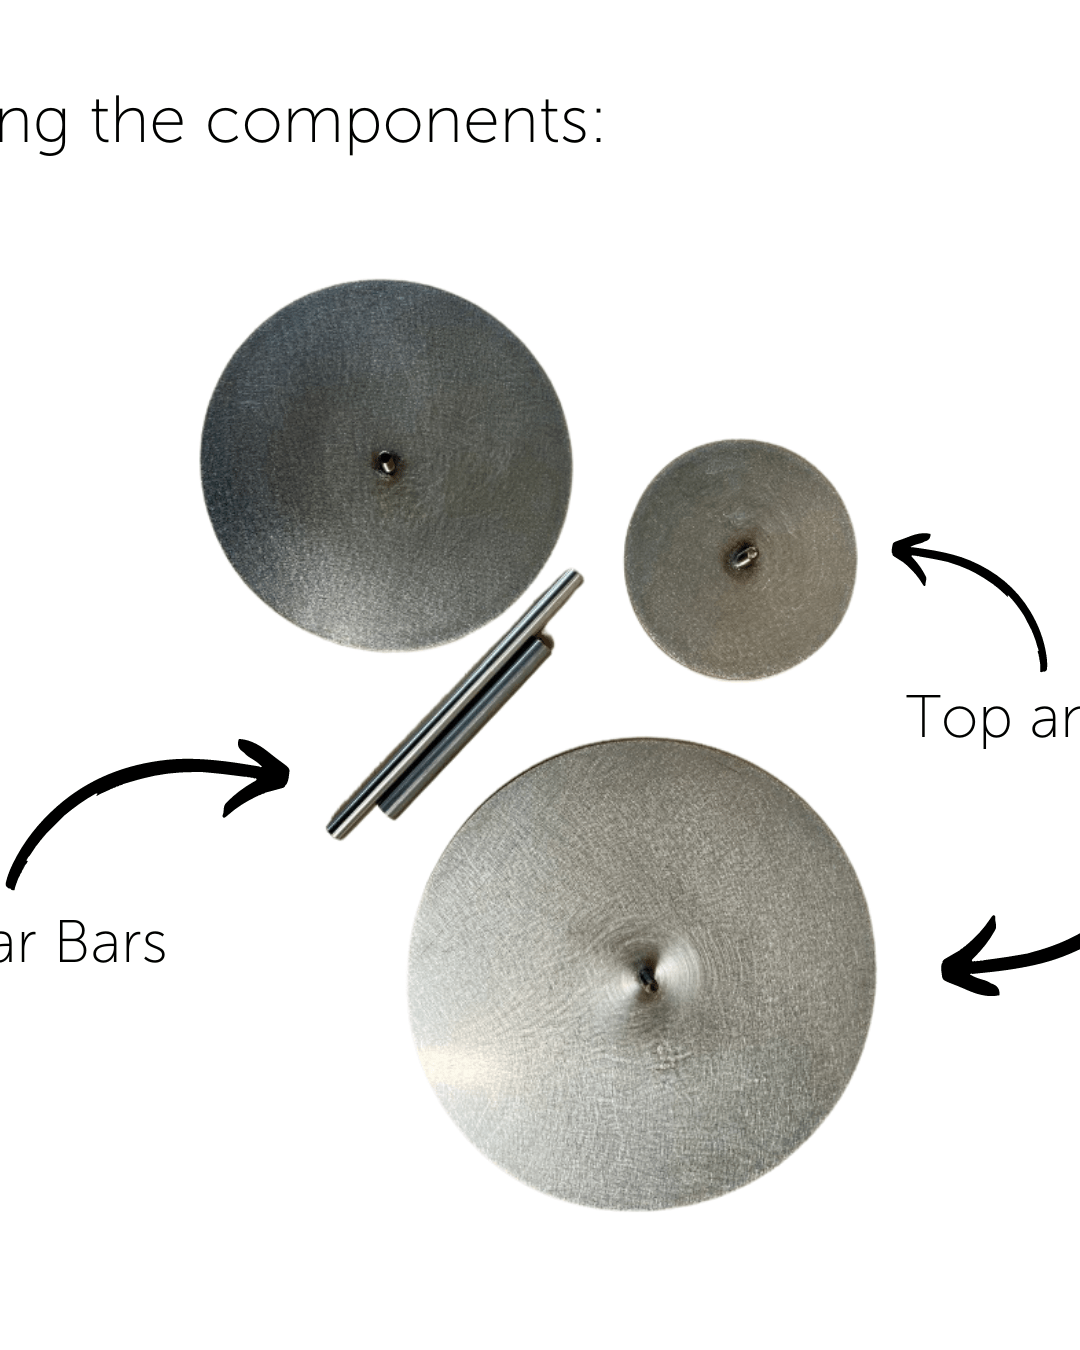
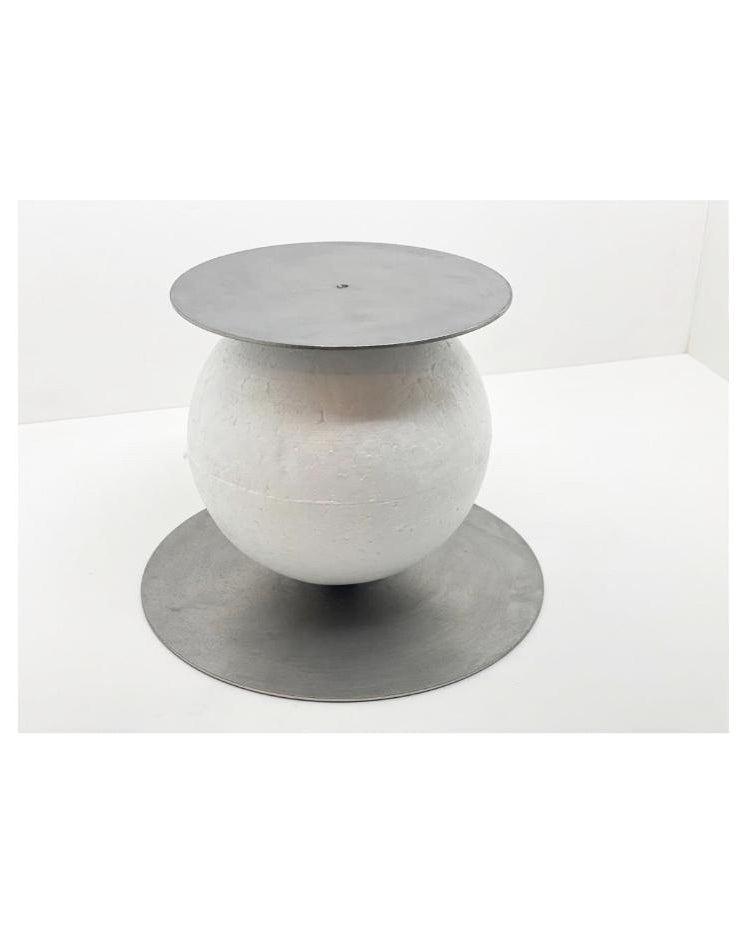
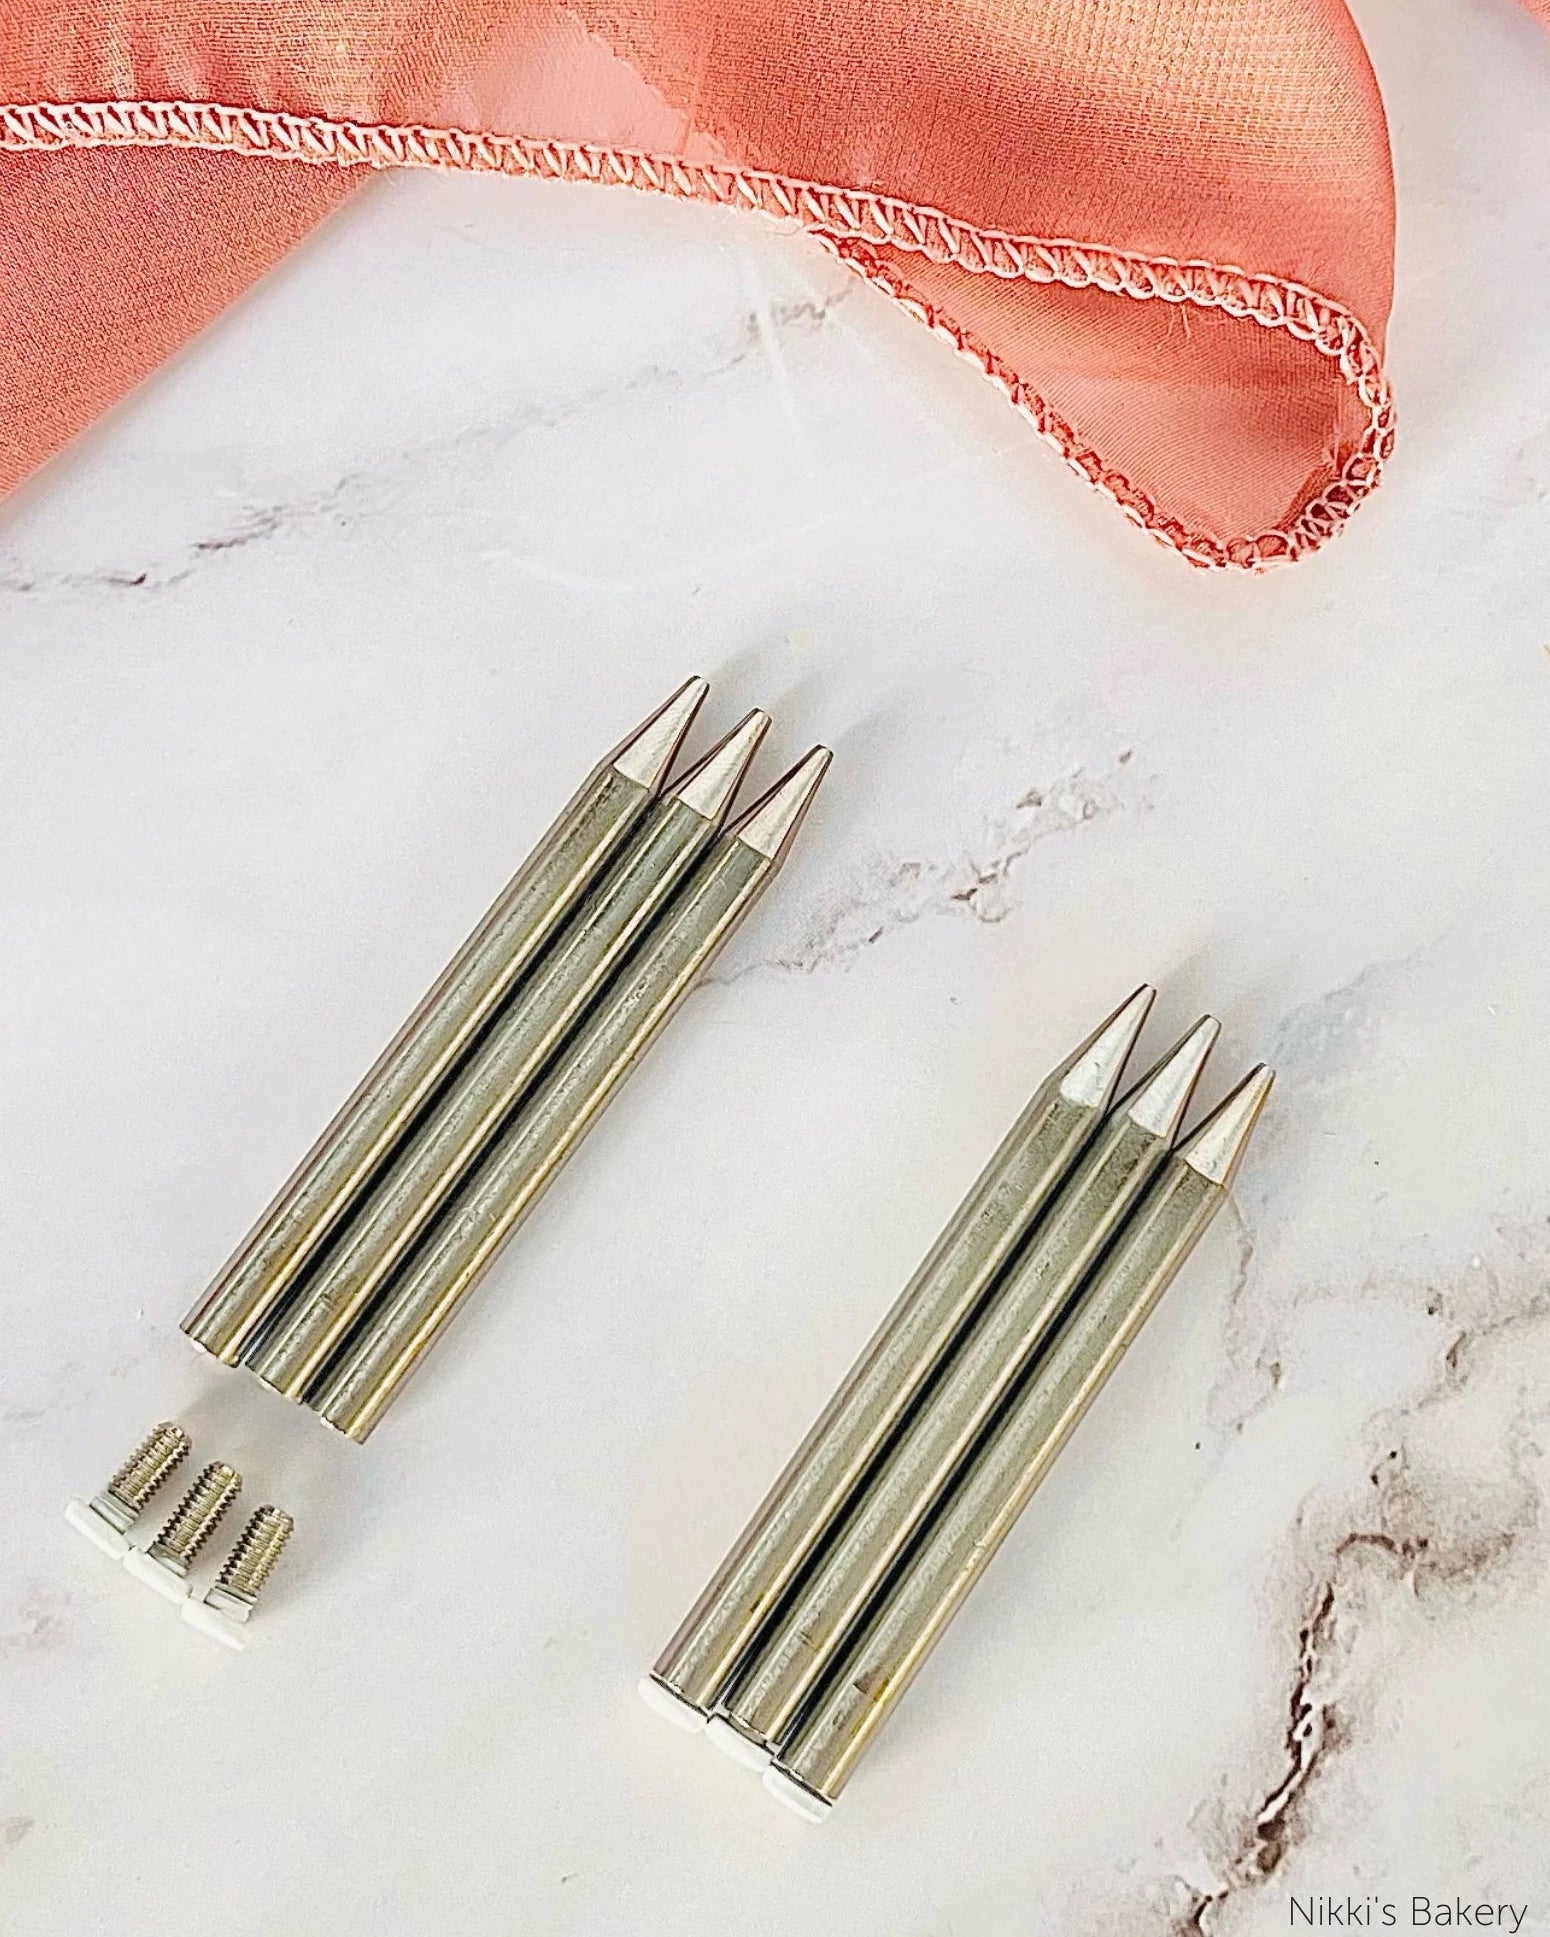
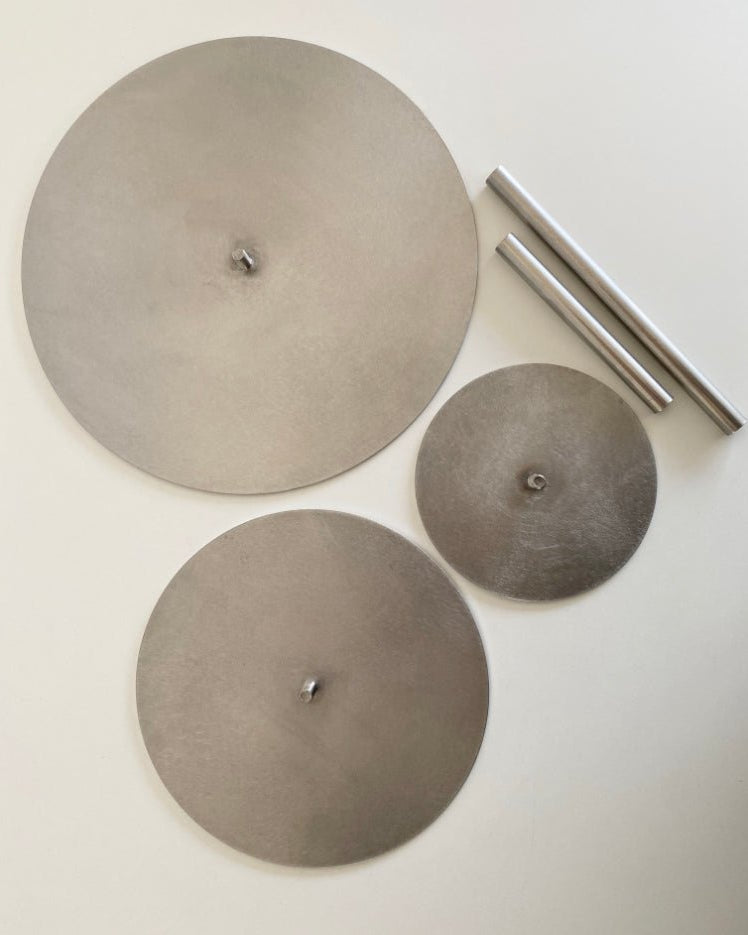
The Side Bar Separator is designed to provide additional height to your allowing you to create gravity defying cakes without compromising on materials or strength. It’s made from food-grade stainless steel, ensuring it’s safe for both real cakes and dummy cakes. Plus, it comes in a sleek powder coated white finish, and is PropSecure® compatible, making it perfect for use straight out of the box, though you can cover it for a more seamless professional look. For full product specifications, please visit our product page here.
Investment Worth Making
One of the best features of the Side Bar Separator is its cost effectiveness. By renting it out to your customers, you can quickly recoup your investment after just a few cakes. The Side Bar is available in a range of convenient sizes and are robust enough to hold up to 3.5 kilograms, making them suitable for heavier fruit cakes through to lightweight dummy cakes. Our enhanced options can hold up to 6kg!
Using the Side Bar Separator
When using the Side Bar Separator with dummy cakes, you’ll find they stay perfectly level due to their lightweight polystyrene material. However, with real cakes, especially heavier ones, you might need to adjust the top plate to maintain your desired level. We’re pleased to say this is very simple to do!
These separators have a cantilever design meaning they have been specifically designed to have a certain amount of flexibility to allow for manual adjustment and placement. This allows for variation between cake weights, making them suitable to be used with both real cakes and dummy cakes. The top plate can be manipulated using your hands to achieve the level needed for your cake. We would recommend pulling the top plate upwards so that it is angled higher than needed and levels out when you place the cake tier on top.
When the cake is put on top, the plate will naturally move into place, which is when you can make final tweaks to ensure the level is correct for the cake you are using on that occasion. We do recommend using icing to secure your cake onto the Side Bar and for added security you can also cover the base plate with fondant/icing.
Creating a Floating Tier Cake Using the Prop Options Side Bar Separator
Step One: Attaching the Separator
- Preparation - Start by attaching the separator to your cake. If using a real cake, ensure it’s properly doweled.
- Adhesive: Use melted chocolate, royal icing, ganache, or buttercream to attach the separator. Spread it smoothly on your cake.
- Placement: Line up the separator and gently press it into place. Leave it to set to ensure it’s securely attached.
Step Two: Covering the Bottom Plate
- Roll Out Sugar Paste: Roll out a circle of sugar paste larger than the bottom plate using corn flour or icing sugar.
- Cut and Notch: Cut the sugar paste into a rough circle, notching one edge for the Side Bar.
- Attach Sugar Paste: Make the bottom plate sticky using vegetable shortening (Trex) or cooled boiled water. Lay the sugar paste over the plate, aligning the notch with the Side Bar.
- Smooth and Trim: Smooth the paste onto the plate with a cake smoother and trim the excess using a knife.
Step Three: Covering the Sides and Blending Seams
- Measure and Roll: Measure the circumference and height of your cake. Roll out a sugar paste panel slightly longer and deeper than the cake.
- Sticky Surface: Apply Trex or cooled boiled water to the cake sides to make them sticky.
- Attach Panel: Attach the sugar paste panel using a piece of acetate for easy handling. Smooth the paste onto the cake, ensuring the seams join at the back
- Trim and Blend: Trim the excess paste at the top and use a smoother to blend the seams using the water method or paste method
Blending Seams:
- Water Method: Use cooled boiled water on a clean finger to blend the seams where the sugar paste joins.
- Paste Method: Mix extra paste with water to a spreadable consistency and use a palette knife to fill in the gaps. Smooth with a flexible smoother.
Step Four: Attaching the Top Tier
- Levelling: Ensure the separator is level before attaching the top tier. If using a real cake, you may need to adjust the level as described at the beginning.
- Adhesive: Spread a thin layer of royal icing, buttercream, ganache, or melted chocolate on the top plate.
- Placement: Carefully lift and place the top tier, pressing gently to secure it.
- Disguise: Disguise the top plate using, for example, the ribbon method, moulded border method, or the seamless method. For more information, watch the video below!
Step Five: Disguising the Separator
- Silk Ribbon: Tie a ribbon around the top tier, securing it with a glue dot at the bottom of the separator.
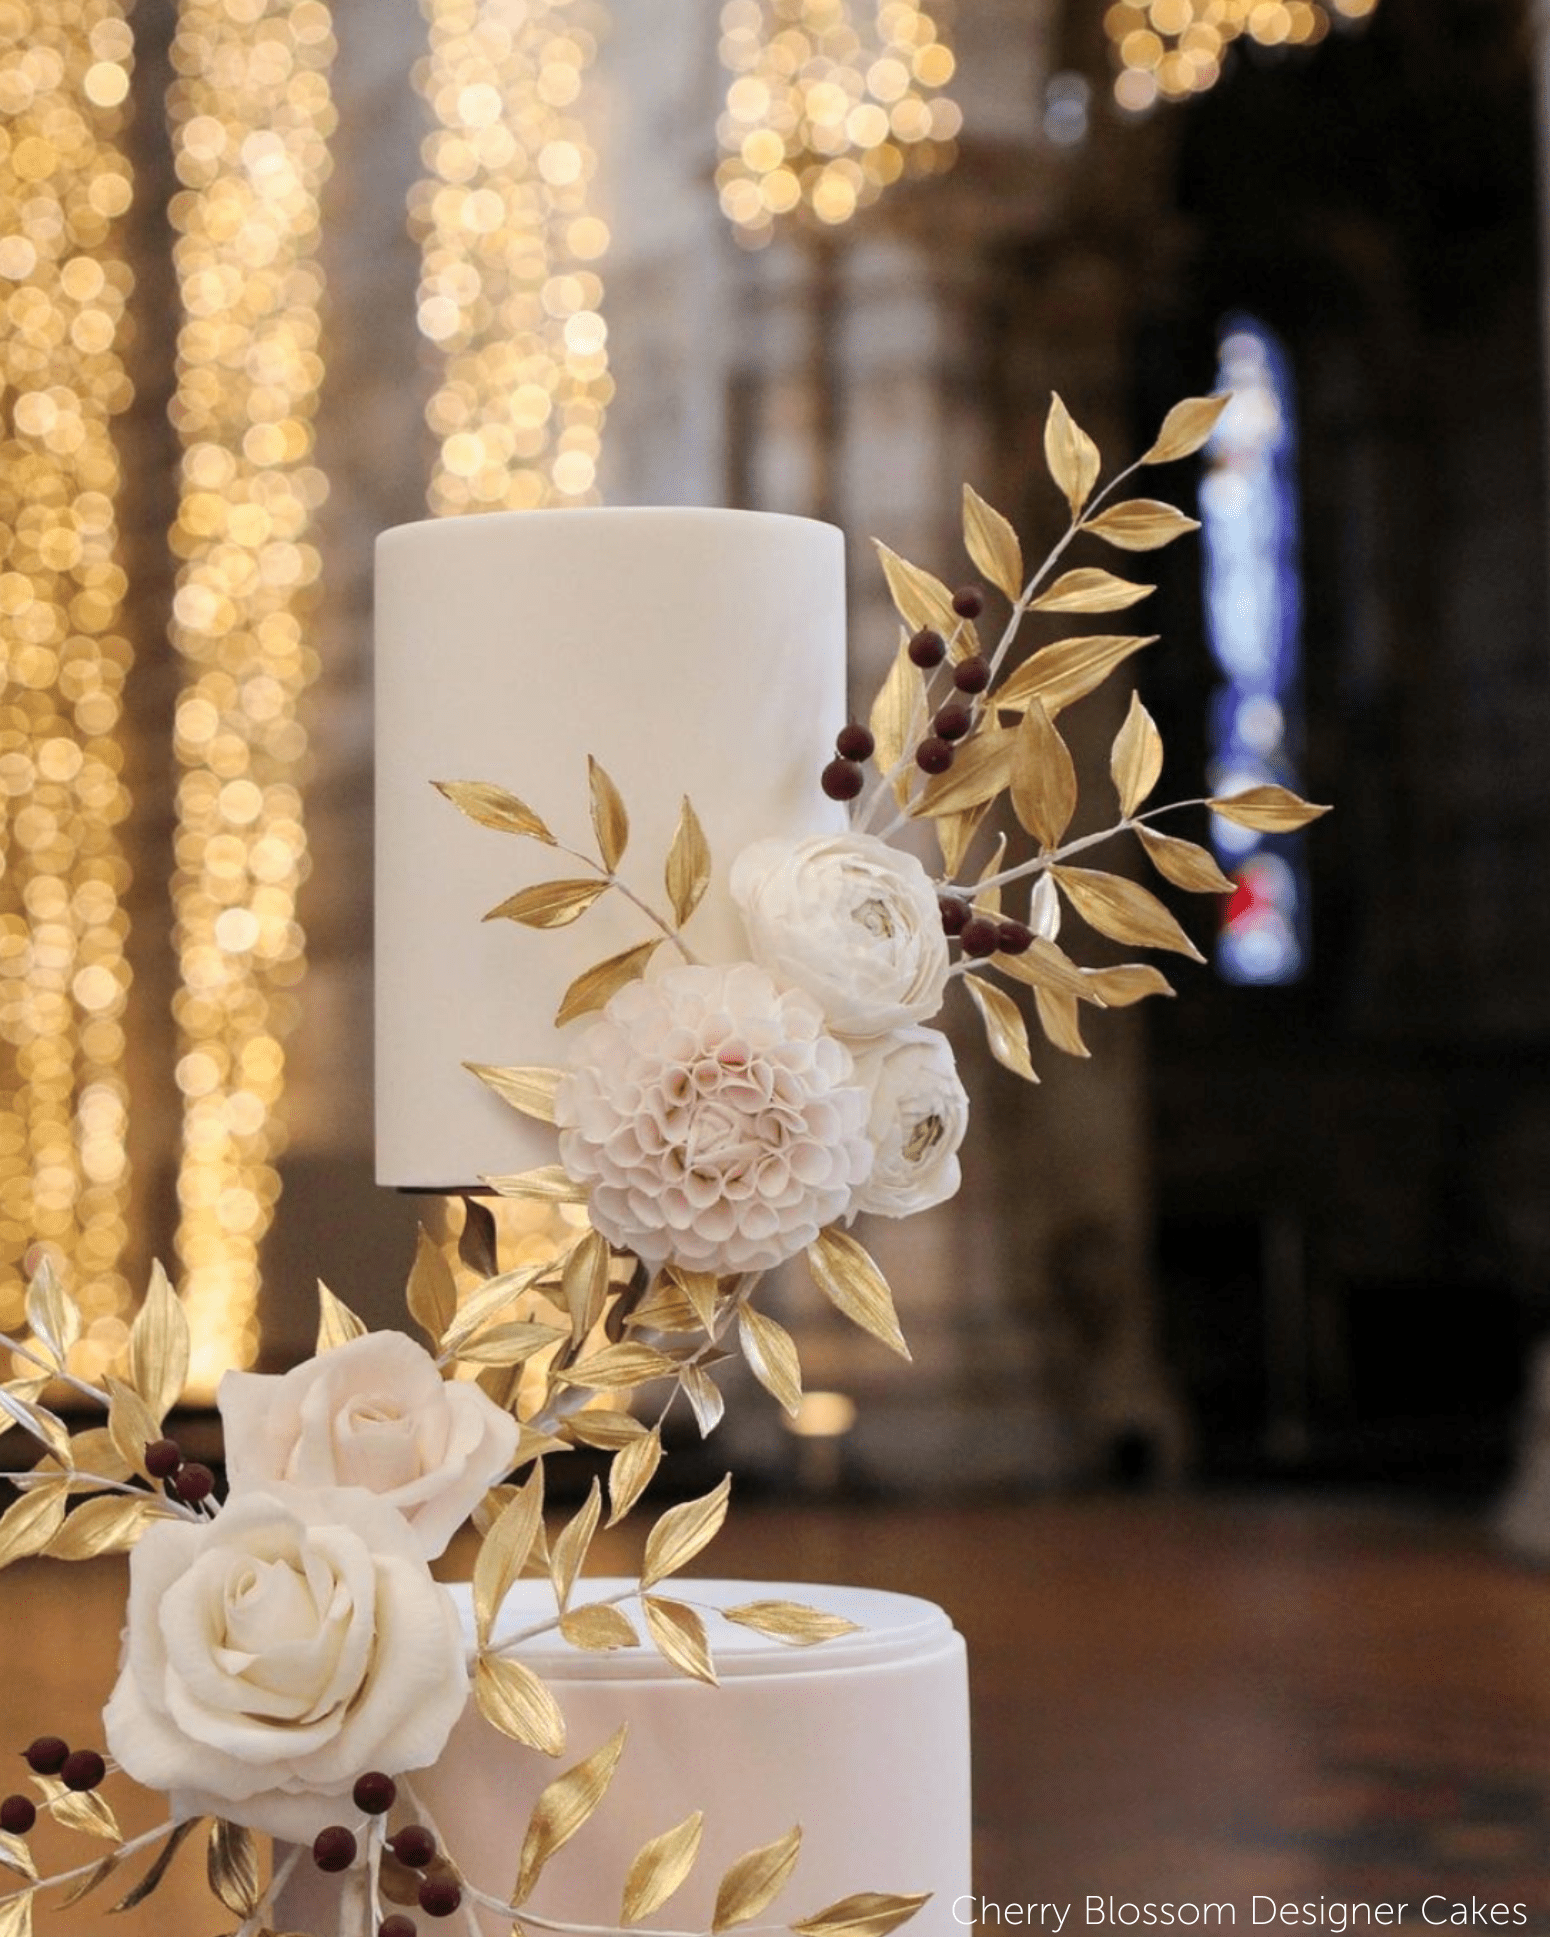
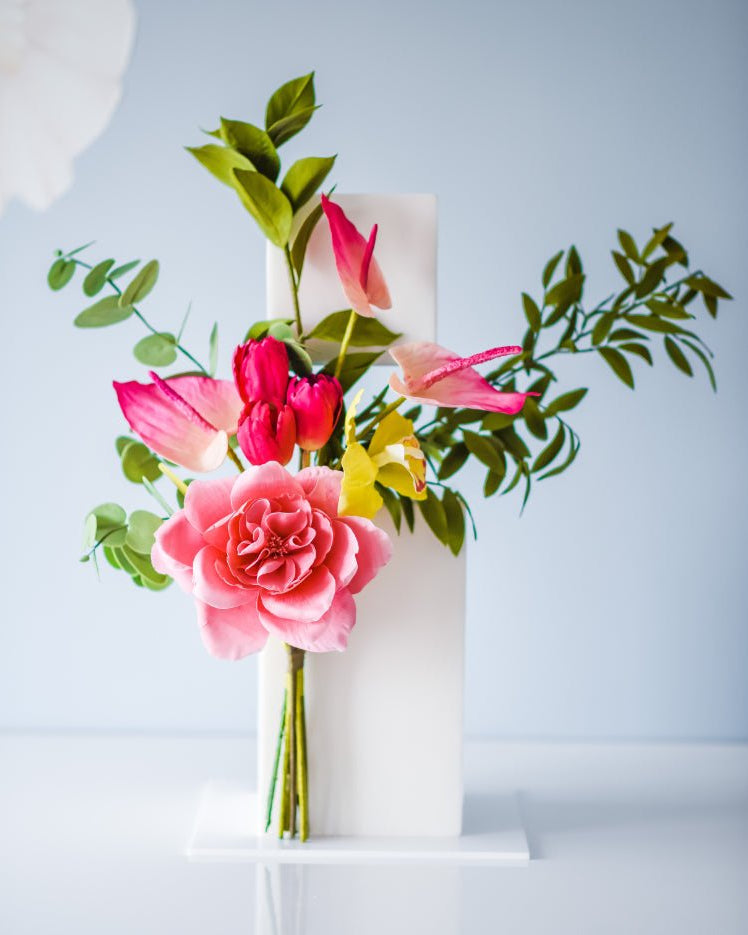
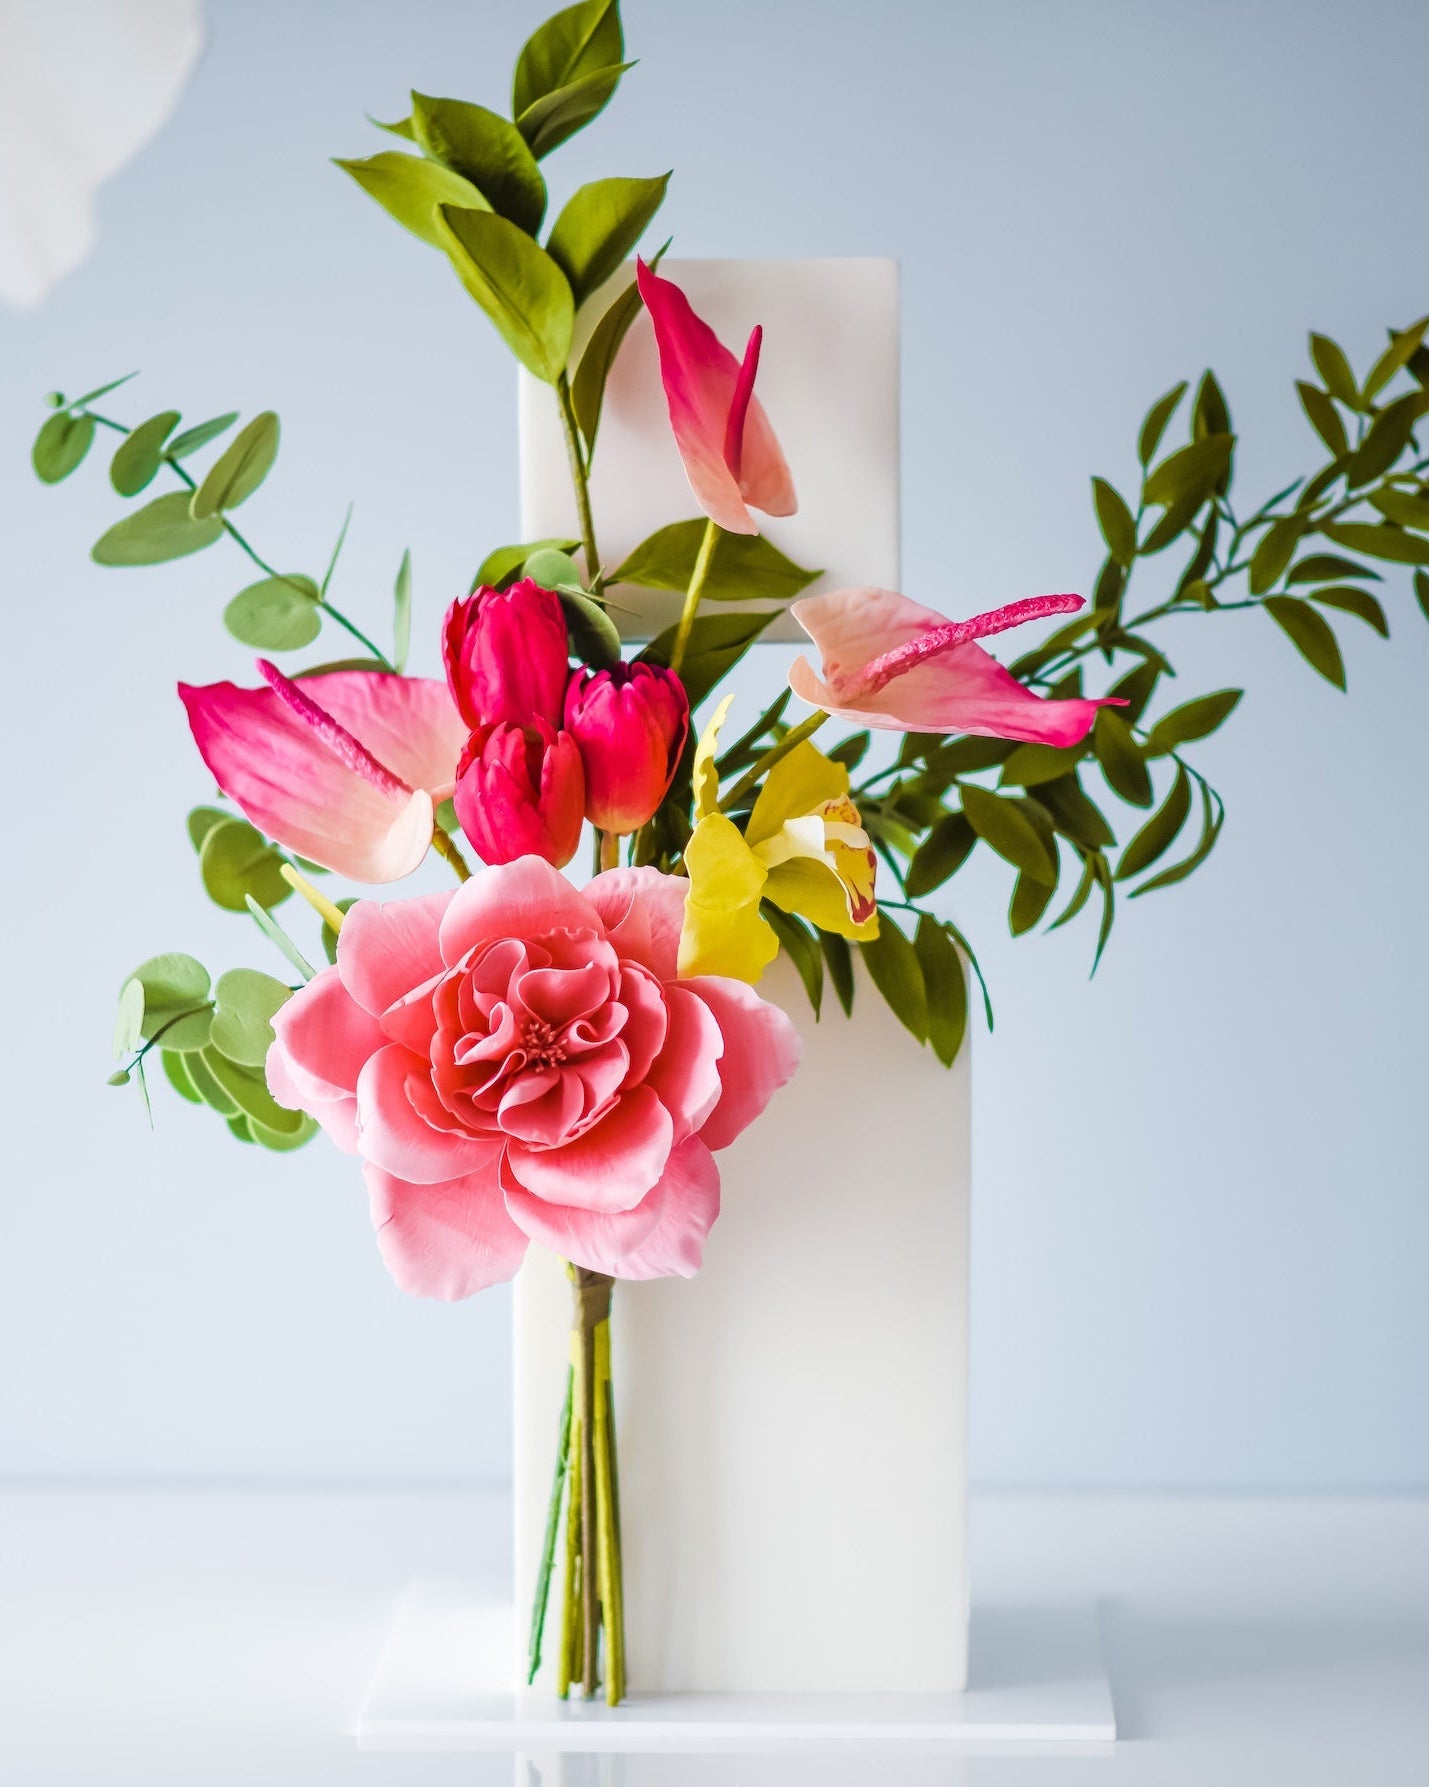
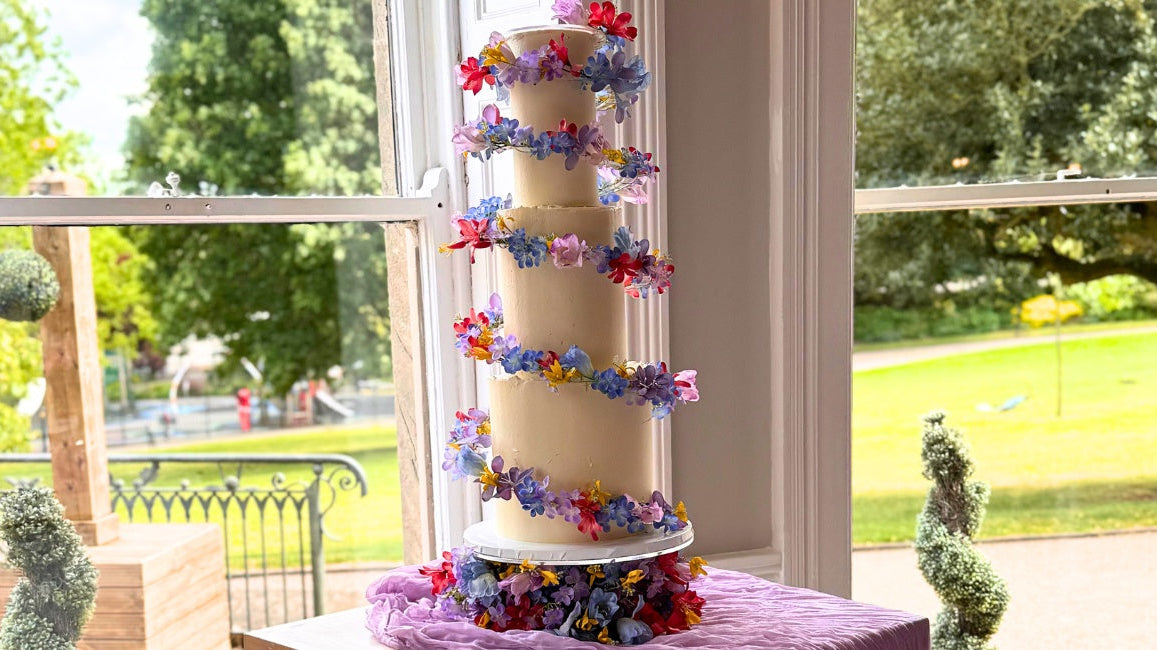
- Floral Arrangement: Use sugar or dried flowers secured with clear cable ties or food-safe wires.
- Additional Methods: Consider using moulds or piped details to add decorative elements that hide the separator. With so many ways to tailor your design, the options are endless!
By following these steps, you can achieve a professional, seamless look for your floating tier cakes. With infinite ways to style, unleash your creativity and start planning your next floating masterpiece!
For endless inspiration and more, find us on Facebook and Instagram, and explore the PropBlog! And don't forget to Subscribe to PropTV over on our YouTube channel for top tips, tutorials, and much more!


